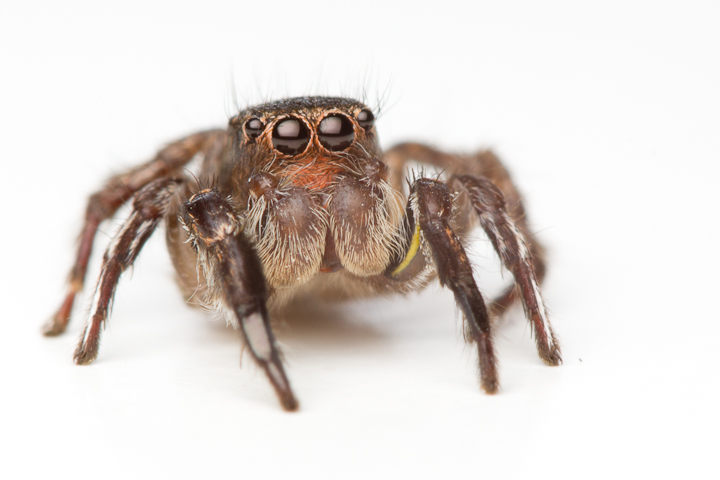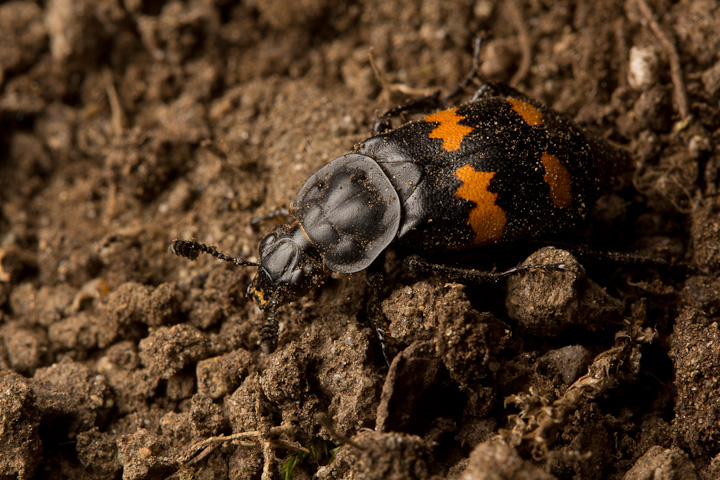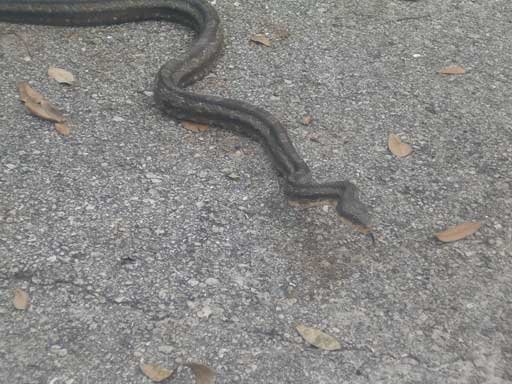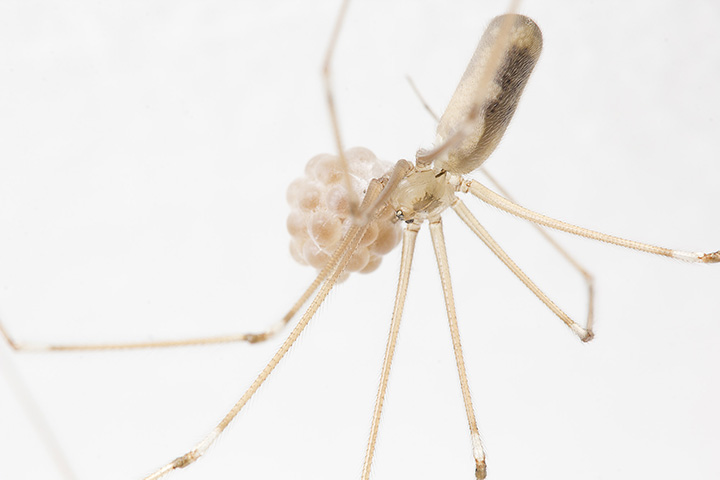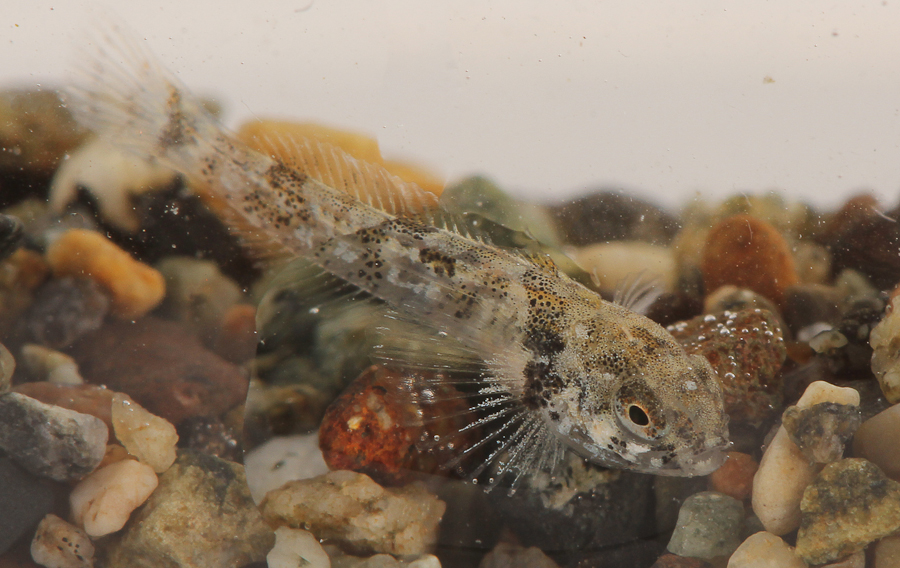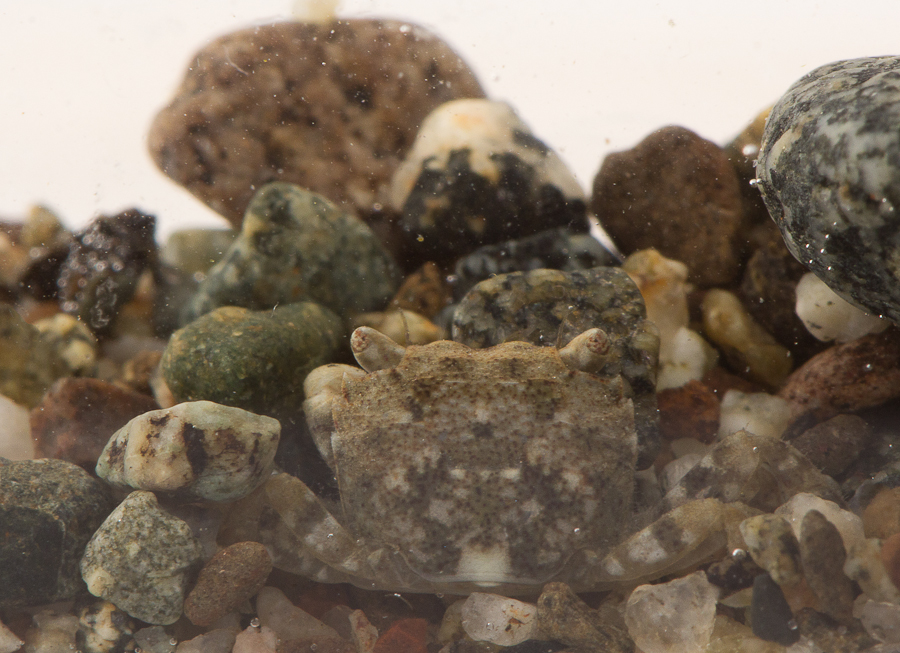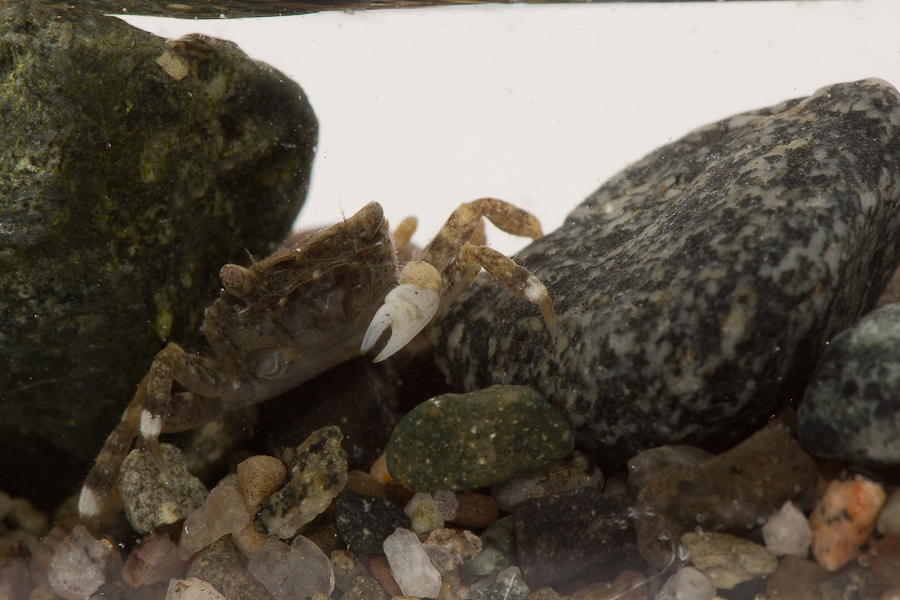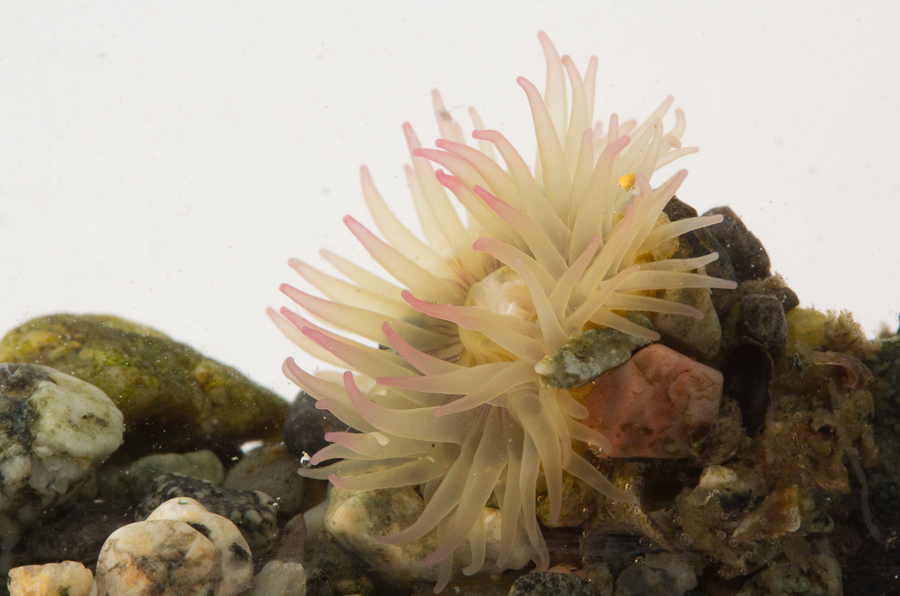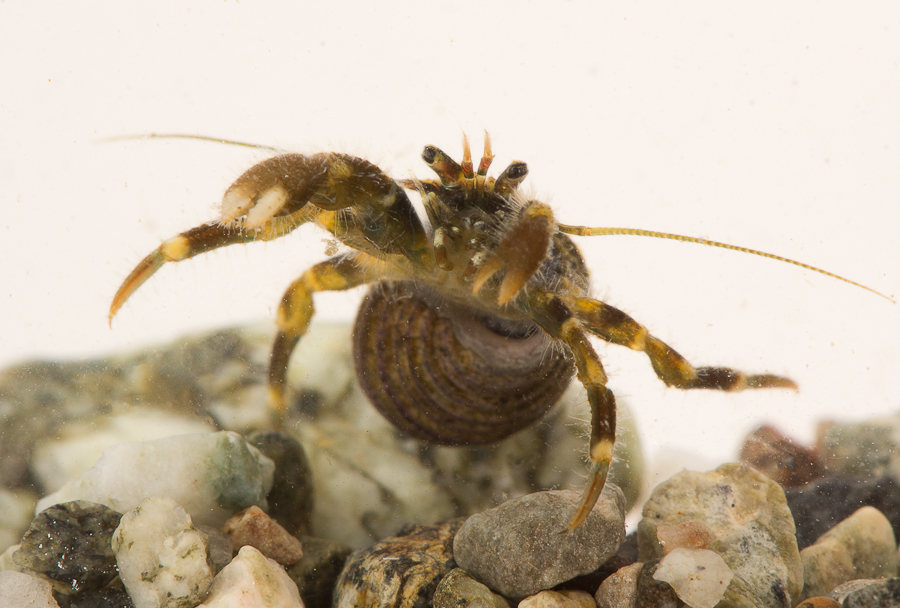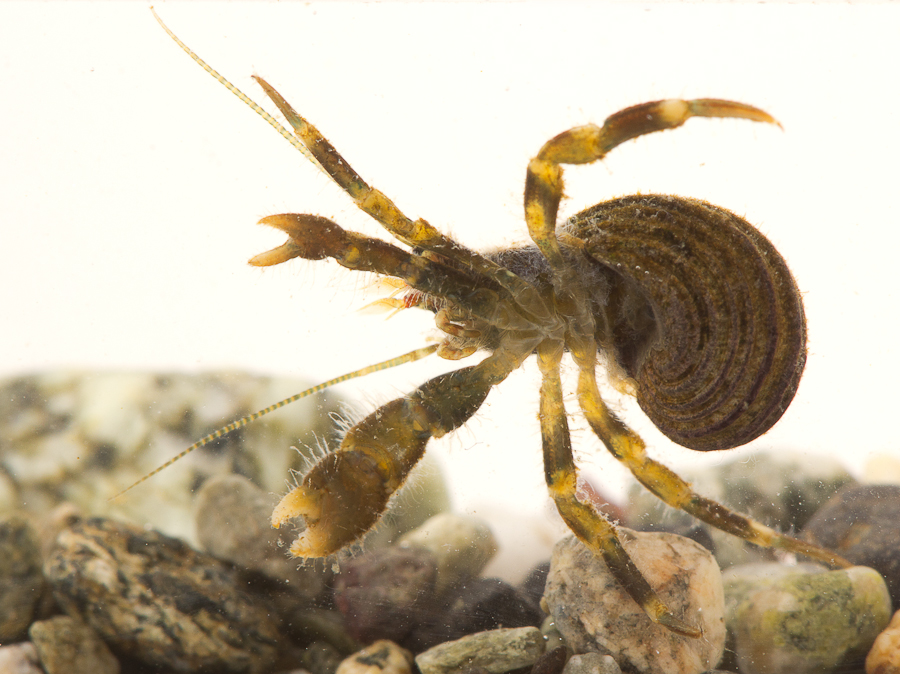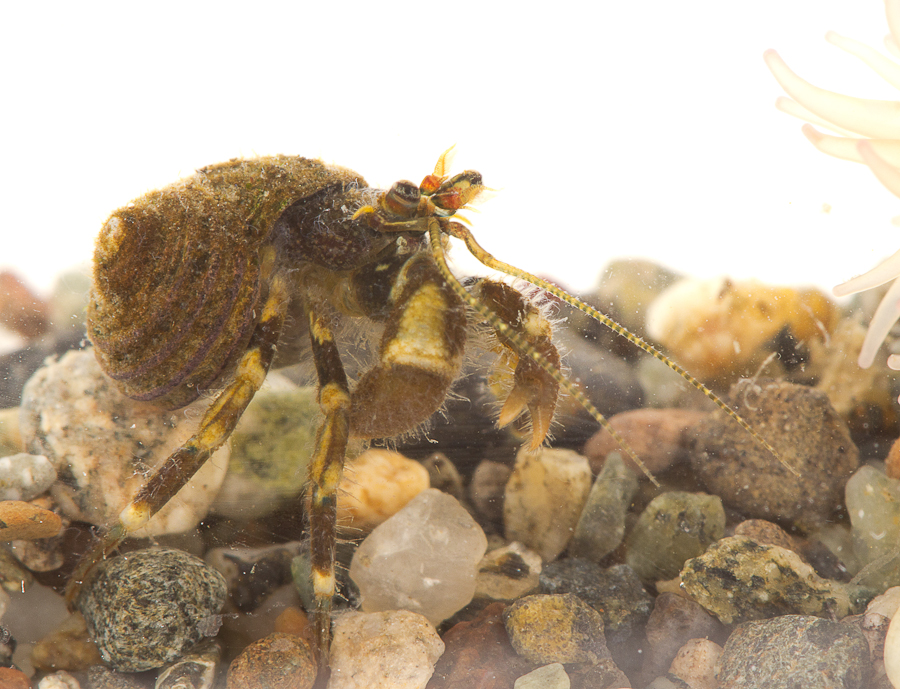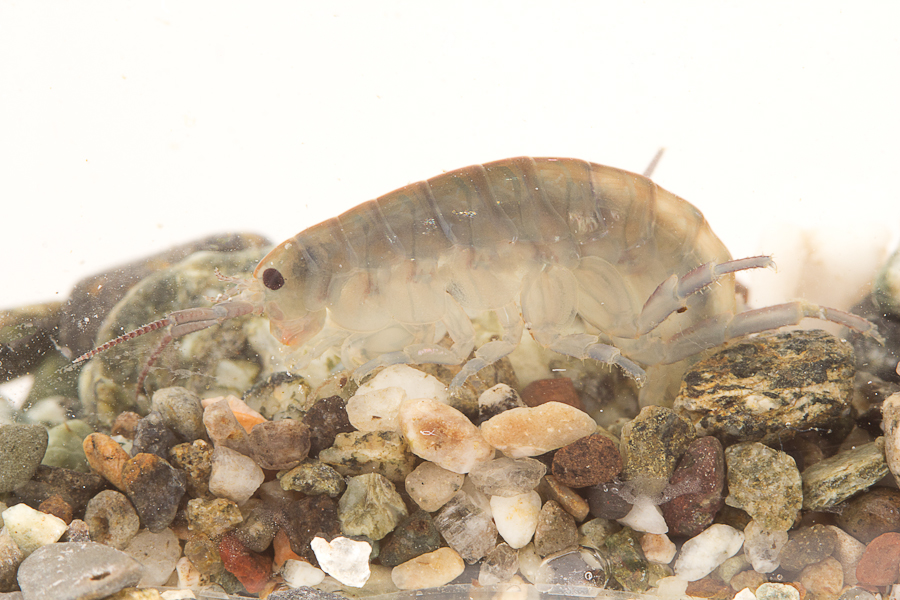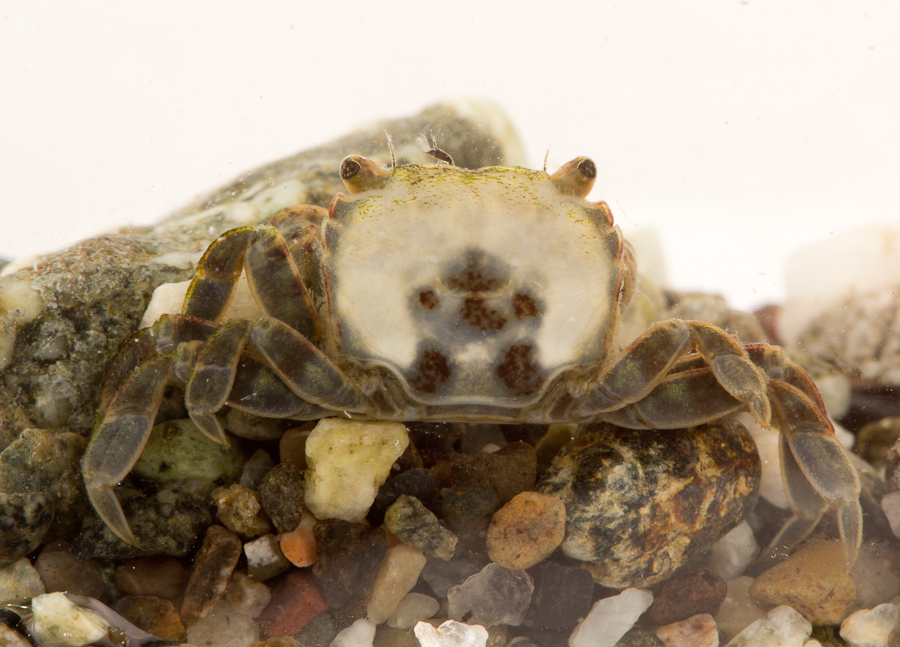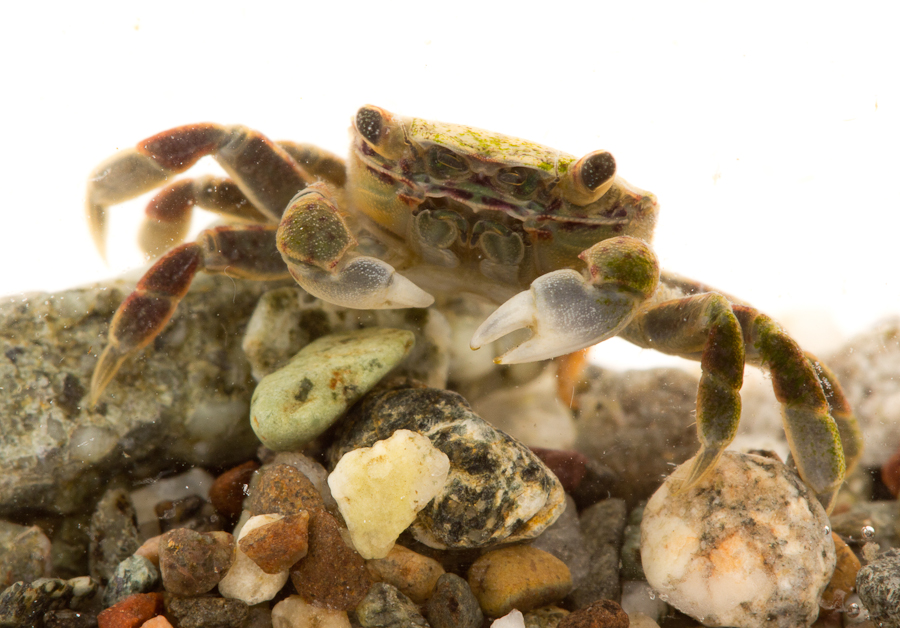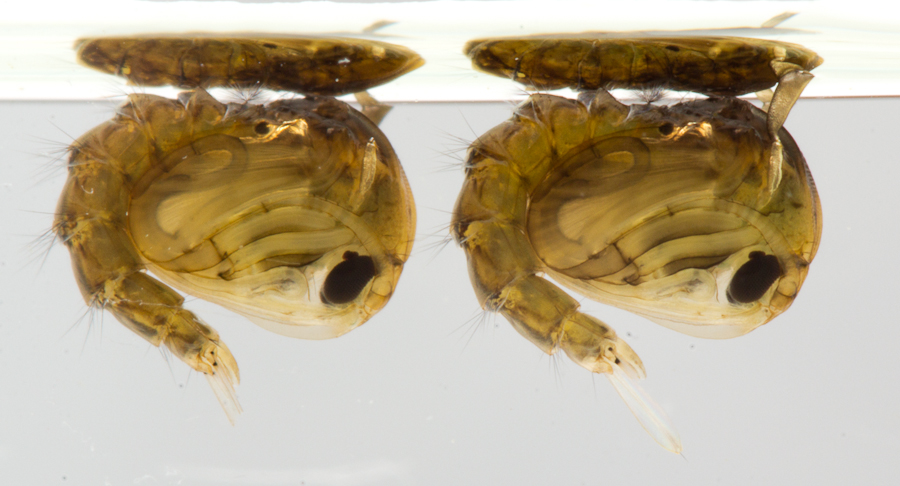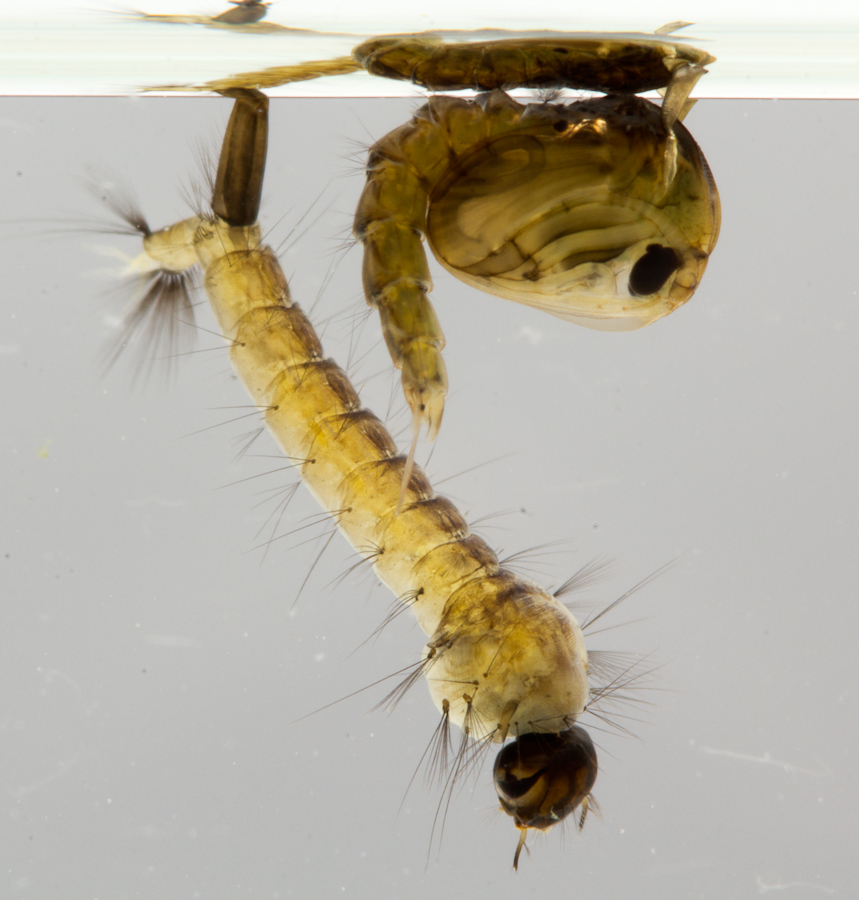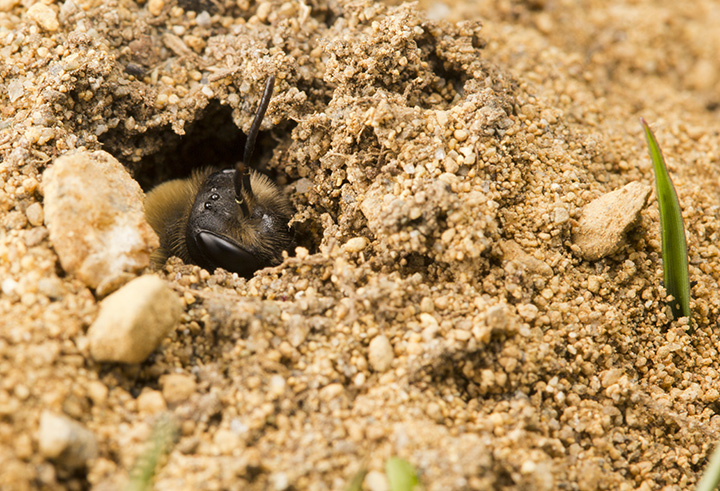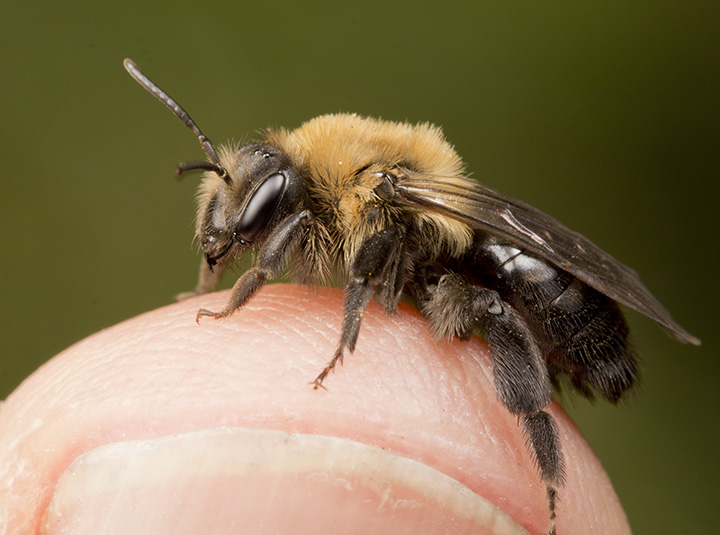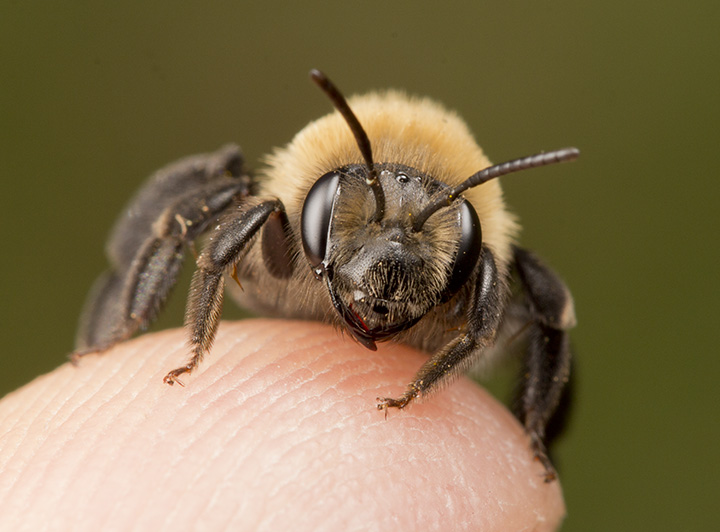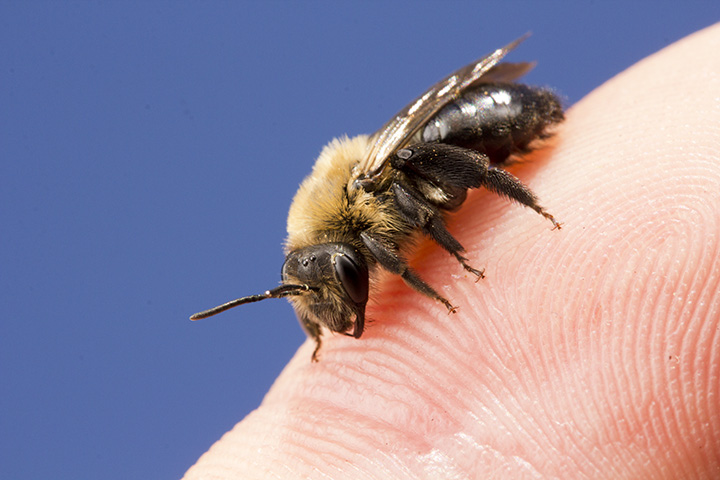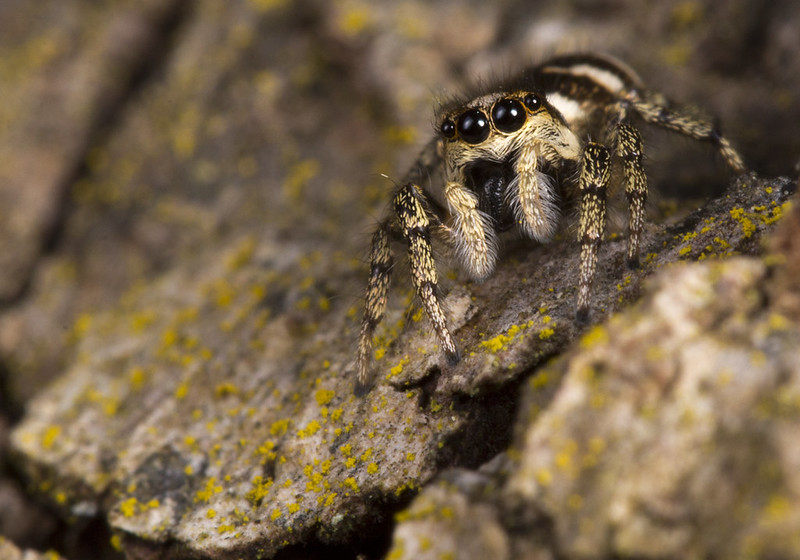
One of the great challenges of macrophotography using speedlights is the phenomenon of falloff. Using a diffused speedlight near a small subject is in essence putting a powerful light right next to the subject. This sets up a major obstacle to a good exposure, however, because the intensity of illumination from a light source declines proportionally to the inverse of the square of the distance (the Inverse Square Law). As the distance from light to subject is so small relative to the distance from the light to the background, harsh falloff is expected to occur in the light from the key. This is especially evident when your subject is perched on vegetation some distance above the ground.
Compare the two frames above. In both cases, the main or key light on the subject comes from the same diffused YN-560 above and to the left of the subject. In frame number 1, the falloff is so great that the background is essentially black, making it appear as if the subject was photographed at night. In frame 2, the background is illuminated by a second (bare) speedlight aimed so as to bypass the subject. The way these lights are positioned is the subject of this week’s Cheapskate Tuesday.
Behold! The “Monster Macro Rig”

The construction of this beast is pretty self evident, the materials required are:
1) Arca Swiss type Rail, I used the DMP-200 from Sunway Photo. This is a pricey object for Cheapskate Tuesday, at c. 120 bucks.
2) 2 11″ friction arms, the ones you can find on EBay
3) a small piece of aluminum stock
4) an extra Arca head and QR plate (c. 15 bucks if you shop around).
5) various bolts, nuts and lockwashers, speedlights and radiotriggers.

Here is what it looks like sans camera. It can be folded down into a pretty compact size.

the Arca head is screwed into the tripod mount of the lens. This allows the camera to be moved back and forth along the rail relative to the lights, which is useful for taking multiple shots at different magnifications without changing the exposure.

The key light is diffused and illuminates the subject, the background fill is aimed so as to miss the subject and illuminate the background.

This is by no means the only way to construct such a beast, but the rail setup makes it convenient for changing the magnification quickly. A cheaper, lighter and easier alternative can be found here:

This setup takes some getting used to, but it is gratifying in how easy it is to make the images…
One of the difficult things to master is matching the background and foreground exposure. There is a certain sweet spot for subject to background distance that cannot be exceeded if the technique is to work. For insect photography on low vegetation, it works well, provided there is some background to light up within a couple metres. Another thing to watch for is distracting background elements, such as dead grasses,twigs or other light colored items.
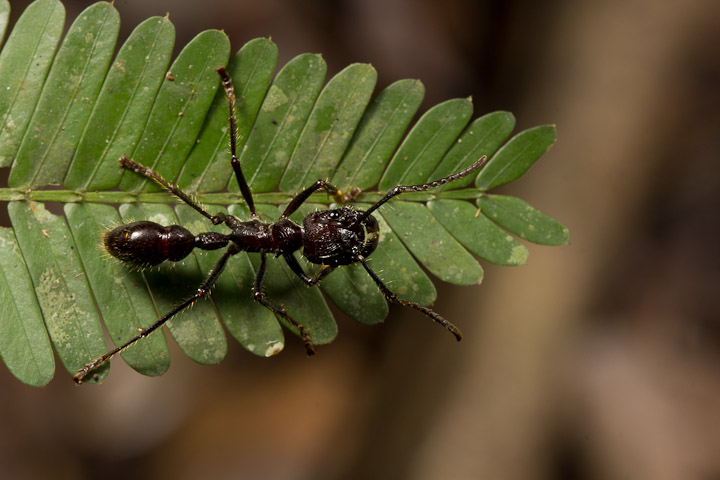
This shot of a Bullet Ant is an example of where the background might be considered distracting.
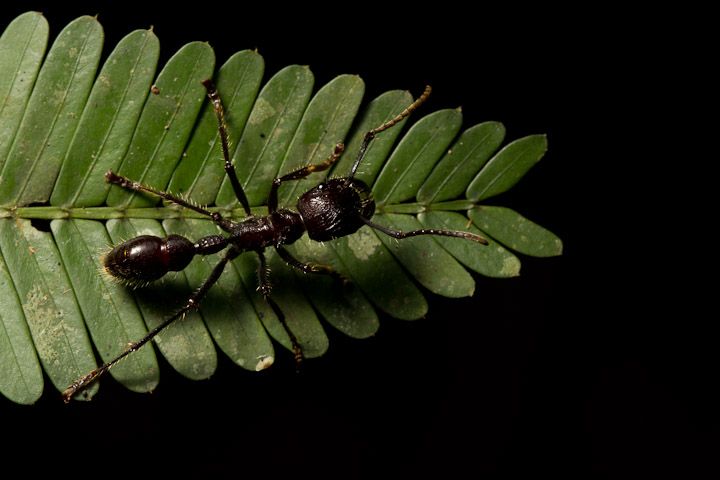
Here the background is not distracting but extreme falloff rears its ugly head.
Keeping such caveats in mind, it is a fun device to use and a practical way to balance subject and background illumination with a handheld rig. Of course, if the background is no appreciable distance from the subject, the second light can be used as fill.

This tick in French Guiana was illuminated with the Monster Macro Rig

This same image of a Damsel Bug was used to illustrate the Cheapskate Diffuser Mark I, where I mentioned the subject was illuminated with the diffuser This was true, but was not the whole story. the background was illuminated with a second speedlight held in the Monster Macro Rig. .
The Monster Macro Rig is probably the priciest item for Cheapskate Tuesday yet, but considering all the components, including 2 Yongnuo or similar speedlights, it still comes in cheaper than a new Canon speedlight, and much cheaper than the MT-24 EX. For longer macro lenses, such as the 100 mm, I would argue this is the better lighting option.

Sometimes the effect can be magical.


