Tag Archive | flash diffuser

Cheapskate Tuesday 7: Cheapskate Flash Diffuser Mark II

IMG_5840

*NOTE! The instructions here are great for cutting out a pattern to fit your flash, but check out the Cheapskate Diffuser MKIII instructions for a better method of general construction


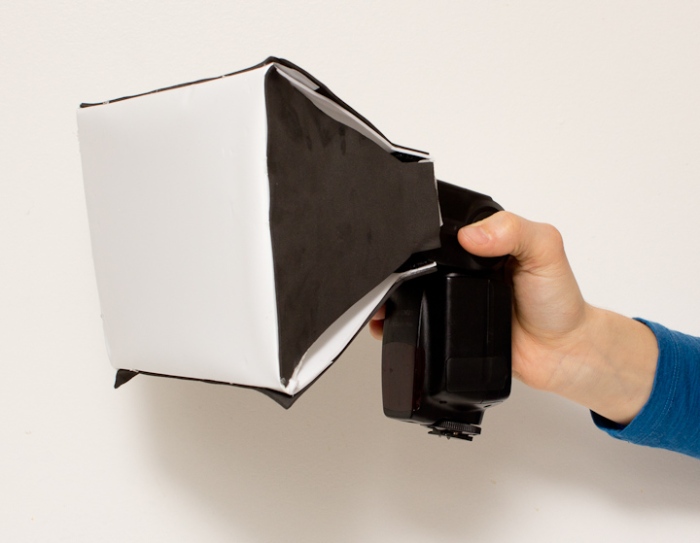
Adrian Thysse has just announced a macro tools workshop for you Albertans, and Alex Wild has just put up a post about diffusing an MT-24 EX, so the time is ripe for macro flash diffusion discussion. This week’s Cheapskate Tuesday is an overhaul of the Cheapskate Flash Diffuser, essentially transforming it into a small softbox. This update uses the same plastic diffuser material as well as craft “foamie” material.  A glue gun or other adhesive option is also required.

The two chief advantages to this updated device are: 1. the diffusion material stands off several more centimeters from the flash head, so the illumination of the diffuser is more even. 2. The new device is stiff and solid when mounted to your speedlight, so it won’t flop around. The disadvantages are the more complex build, larger folded size, and increased weight (48 vs. 12 g). Another disadvantage is that this is no longer universal, but must be made to fit the dimensions of a particular speedlight. Here I have illustrated a build that would work for a YongNuo 560, 565 or a Canon 580. The generalized schematics to adapt the design to any speedlight are found below. If possible, I will have some shots from the field taken with this soon.

Please follow along below for the essentials on how to construct the Cheapskate Diffuser Mark II. Just like an update to a Canon lens, this Mark II will run you three times the price. So budget around 3 dollars. Because being a PhD student wrecks my brain and hands, I had to rely on my local Master’s Student Catherine Scott to help me out with all the tough geometry, hand modelling and cutting! Pythagoras also helped immensely.
IMG_5798

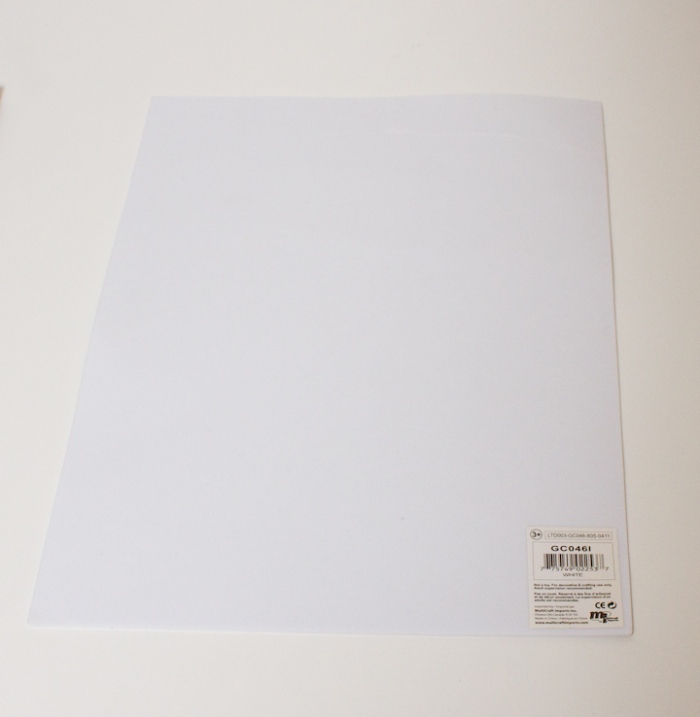
This “foamie” craft material is the basis for the modification. You will need two black sheets and two white sheets.
IMG_5795

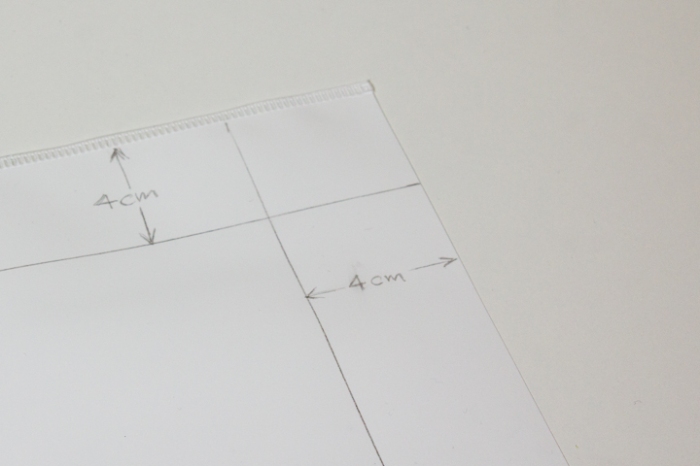
Using the same plastic diffusion material as in the Mk I, mark off 4 cm from each side.

IMG_5799

For the wide sides, cut out the pictured shapes in both the white and black foamie material.
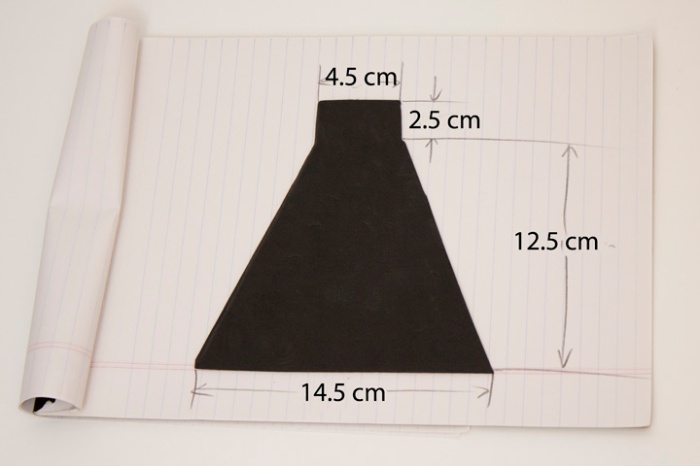
IMG_5803

Same with the narrow sides. Make two in black and two in white.
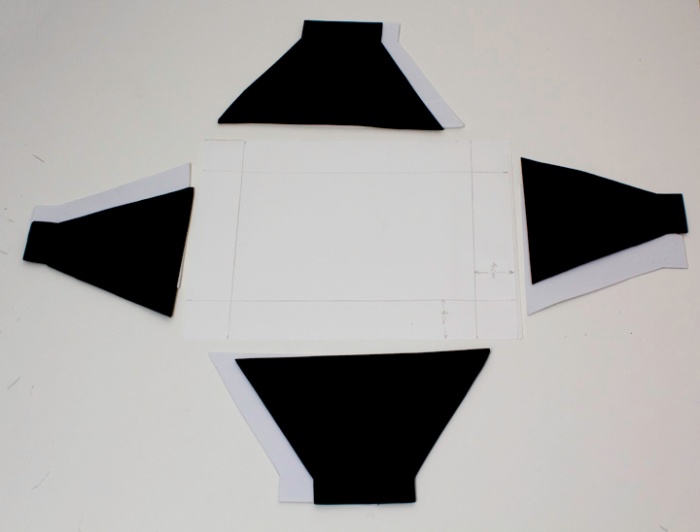
IMG_5807

8 foamie pieces of four kinds and a marked plastic sheet.
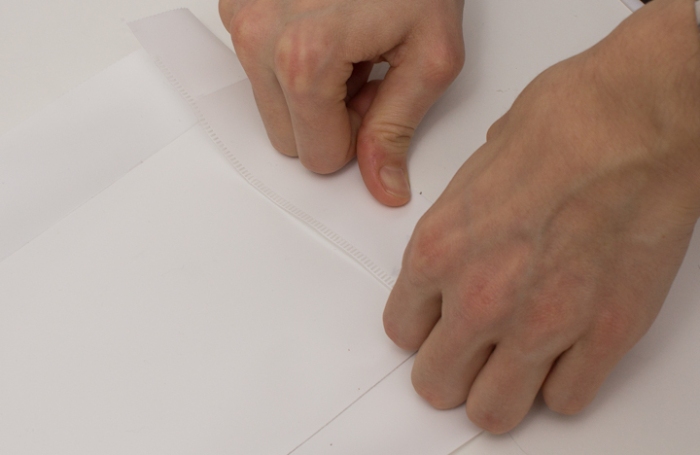
IMG_5811

make creases along the lines previously drawn
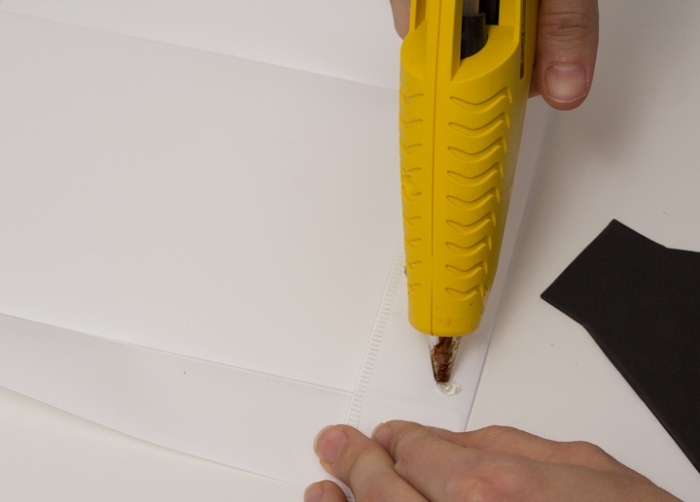
IMG_5816

lay down a bead of hot glue along the creased 4 cm
IMG_5818

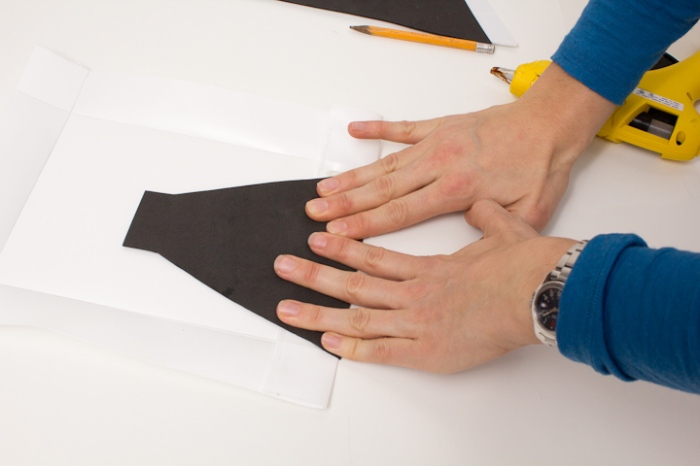
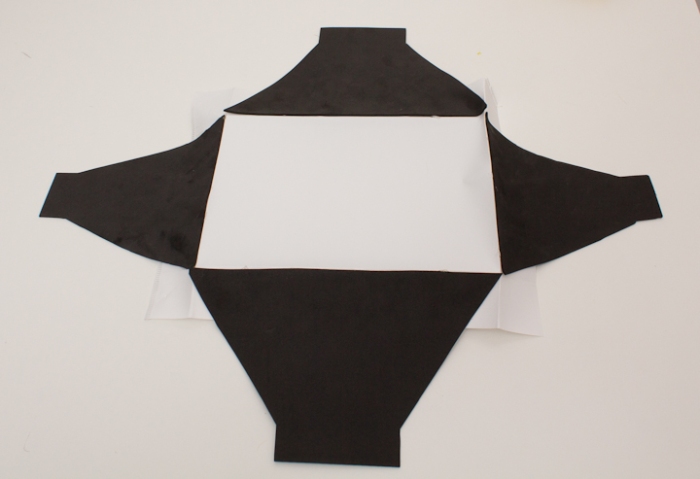
glue down the black pieces on the corresponding sides. Black goes on the “outside”. Then glue the white pieces on the inside, sandwiching the plastic in between.
IMG_5821

ready for cutting out

IMG_5823

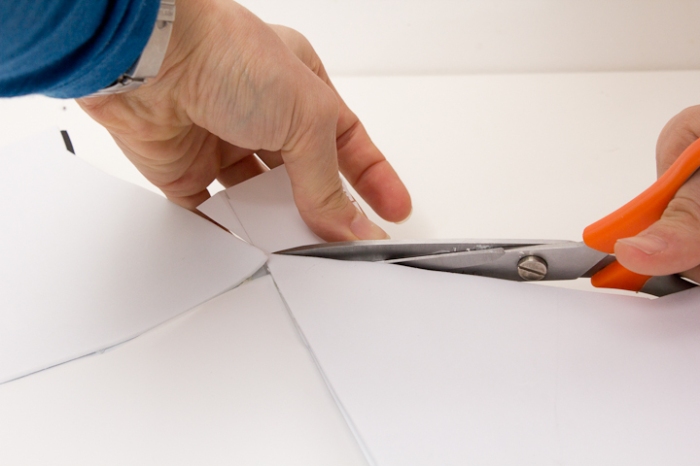
cut out the corners

IMG_5830

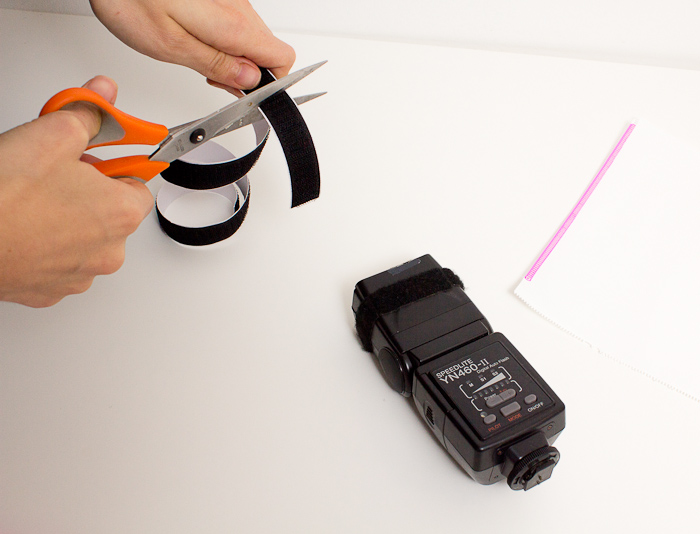
cut out velcro to size

IMG_5836

ready to rock

IMG_5843

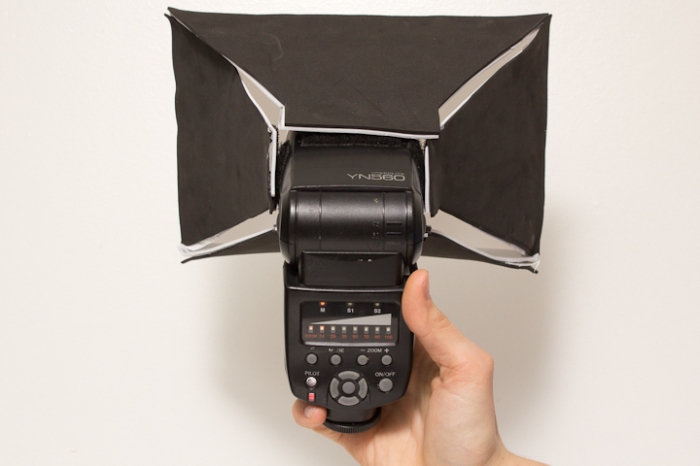
mounted to the YN 560.

IMG_5852

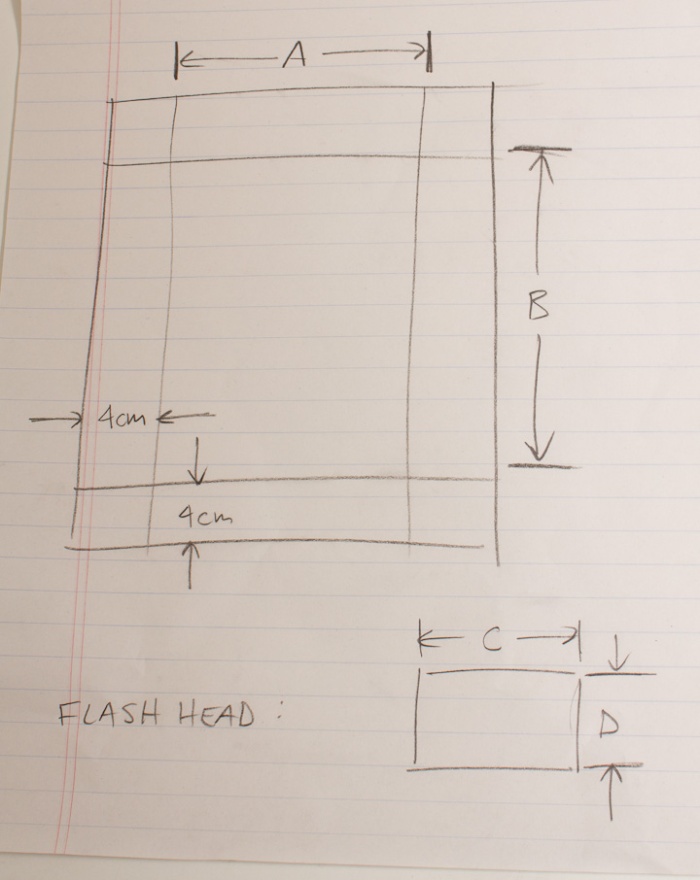
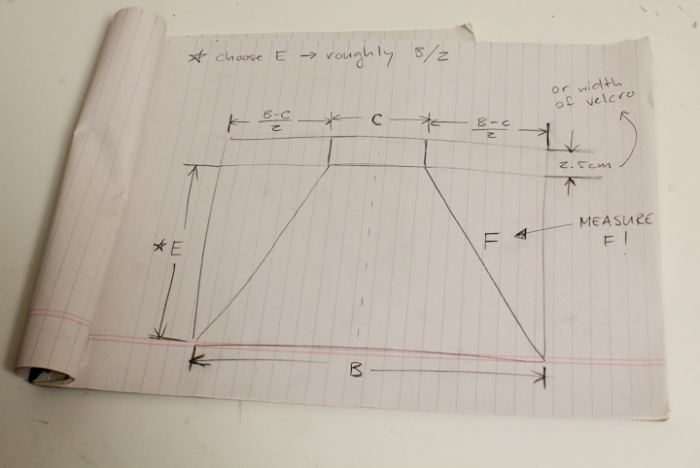
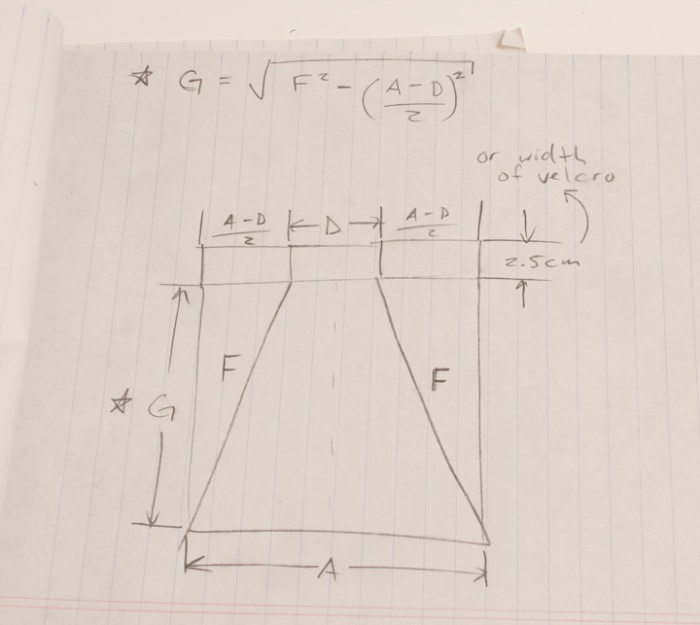
these schematics are for designing custom diffusers for differently sized diffusion material or a different speedlight. Here is how to measure a flash head and mark off the diffuser material.
IMG_5848

schematic for the larger pieces. Note that B and C are the dimensions from the previous diagram, and that F must be measured.
IMG_5854

schematic for the smaller pieces. First calculate G, and make sure F is the same as measured in the previous diagram.


UPDATE!!!!!!!!!!!!!!!!!!!!!!!!!!

found a Camponotus alate in the hallway at school today, so I had an opportunity to test out the CFDMkII

IMG_5891 IMG_5897

Cheapskate Tuesday 1: cheap flash diffuser

Nabid at Burnaby Lake Park
the subject was illuminated with the cheapskate diffuser

Hi, and welcome to Cheapskate Tuesday! Here I will try to convey how I mess up my photos by cheaping out I save money by applying a DIY ethic to photography projects. I plan to explain as many of my tricks as I can, and then will scour around teh internets for cool looking budget-minded photo mods and tricks.

This week, another version the ever popular macro flash diffuser…There are endless varieties, but the whole purpose of them is to enlarge the size of the (small) light source relative to your (probably small) subject, improving the quality of light by filling in shadows and reducing specular highlights.

I will admit, this idea is not wholly my own. When I read this post by Piotr Naskrecki (one of the greatest close-up shooters around) and he mentioned using file folders to diffuse speedlights, I immediately went out to the dollar store to find some…I am not sure if I found the same ones, but here is what I riffed off of that:

This badboy you can build for roughly two dollars. So say you have your flash, and since you are budget minded it is a beat up Yongnuo 460-II (35 bucks used, baby)…

IMG_3096
First things first…You have velcro around the flash head, right? If not, put some there… This will be important later. I like to use the soft side, because sometimes I cuddle up with my speedlights.

Next, you need to get a file folder such as this:

IMG_3093

Look for yours at a dollar store, or budget office supply store. The key feature of this is that it has a white plastic interior…It is almost the thickness of paper, but it is a nice tough white plastic… I have no idea what the composition is, but the stuff is tough! It supposedly is imported by DTSC Imports in Burnaby BC, and made in China.

Next, tear away all the pink and transparent plastic, leaving two beautiful sheets of white plastic:

IMG_3098
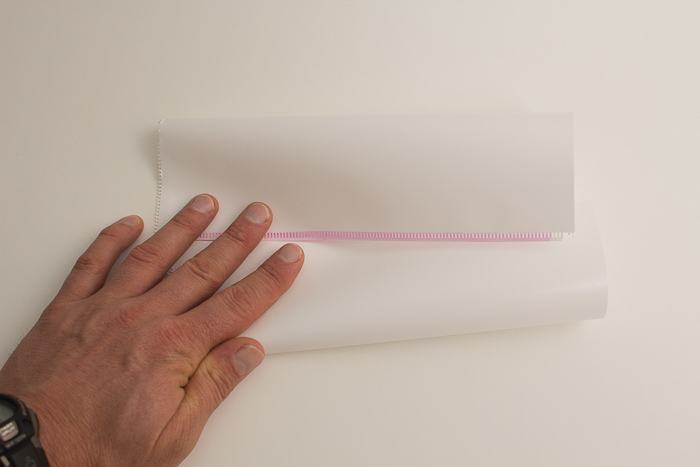
Next, fold one of the white sheets so that the two shorter sides meet midway…Give it a good crease.

IMG_3102

Next, cut two flash-head-sized pieces of self adhesive velcro (the hook side this time!)

IMG_3100

Stick those about where you might expect them to go:

IMG_3105
And voilà!

IMG_3106
Stick it to your flash head:

IMG_3110

Make a few, throw em in your bag, and there you go.
I like this modifier in particular because it stores as flat as a sheet of paper. The plastic is so tough, you don’t have to worry about it tearing, and it won’t get dirty like fabric-covered softboxes. Also it costs 50 cents….

I made extensive use of this simple mod on my recent field excursion to French Guiana, and appreciated the simple stowing and quick deployment this device offered. Here are some examples of what it can do:

IMG_1776

Hoppers in front of the shower? No problem!

IMG_2053

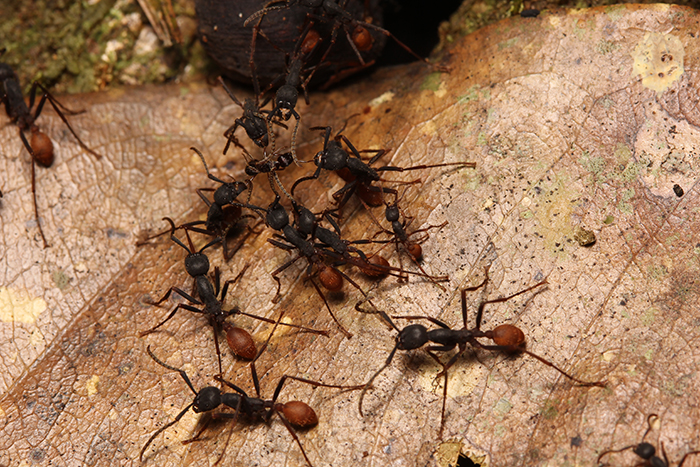
This ant is in a world of hurt

IMG_2258

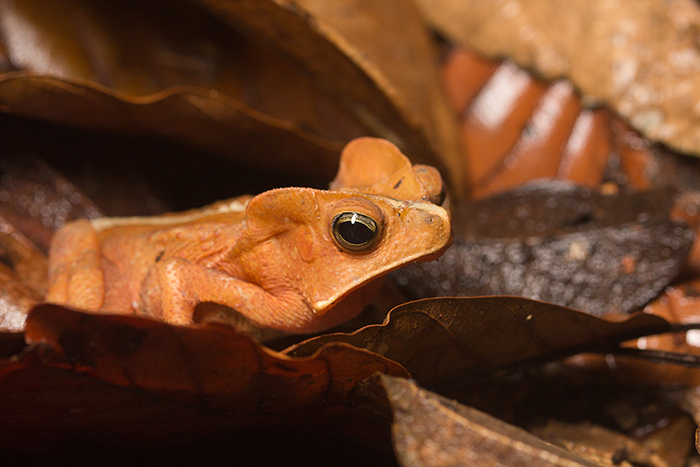
It works on Rhinella maragritifera (crapaud feuille) as well.

IMG_2663

Try these diffusers on crickets!

IMG_3033

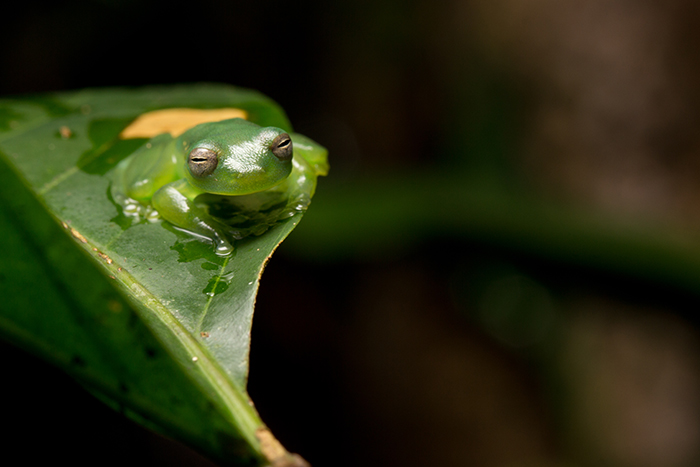
This glass frog was a little challenging…

IMG_3708

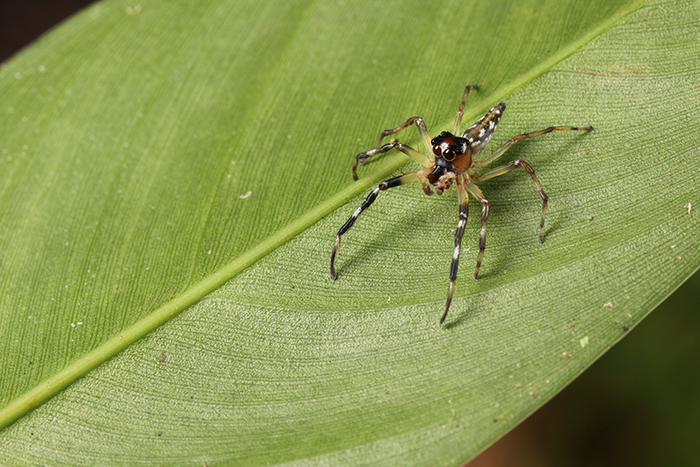
Jumping spiders are a good way to test any flash diffuser!

Note: you could probably use the pink translucent stuff to gel your flash for some really weird looks, or perhaps for other arts ‘n’ crafts.  The transparent stuff might make a good humidifying cover for an insect cage, or whatever else you might use transparent plastic for.  Good luck and good shooting!