
Note: this post/idea is owed entirely to Neil van Niekerk, an extremely talented wedding and portrait photographer. It is, in fact, his famous “Black Foamie Thing“. Please do visit his site, as I do not have the talent to really do the subject justice! I merely present the idea, with a few examples, and send you on along to his blog, where you can feast your eyes on his excellent results.
The black foamie thing is mainly with an on-camera speedlight, but it can also be taken off camera or used for other cold lights. It has several uses:
1) to flag something, that is, to block direct light from a light source spilling on a subject or a distracting background object.
2) to shape light. It can be used as a flag, or rolled into a “snoot” or used to direct bounce flash in one direction only.
3) for walk-around bounce flash use, it can be used to control spill so as not to annoy people (such as at social functions).
Below is one way to make it:
The material are some self-adhesive velcro and one sheet of black foamie material, the same stuff as used in the Cheapskate Diffuser Mark II:

First, cut a piece of velcro to go along one long edge. Stick it there.

Cut four more smaller pieces, two hook and two loop.
Stick them in the middle of the shorter edge, on alternating sides. This will allow the foamie to form a tight snoot around the flash head.
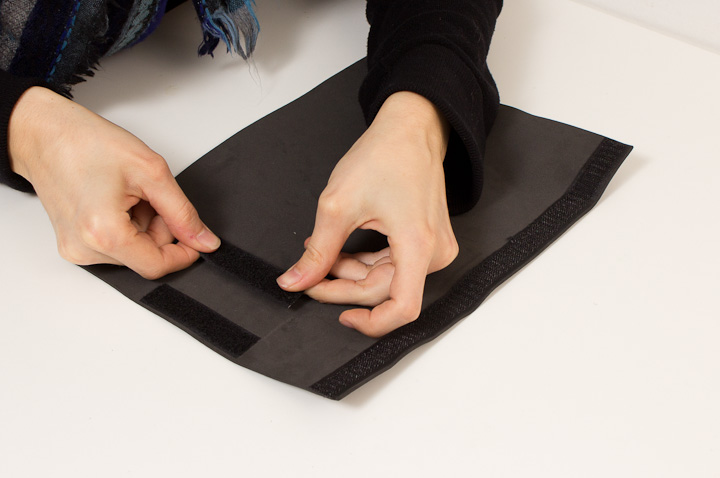


Done!
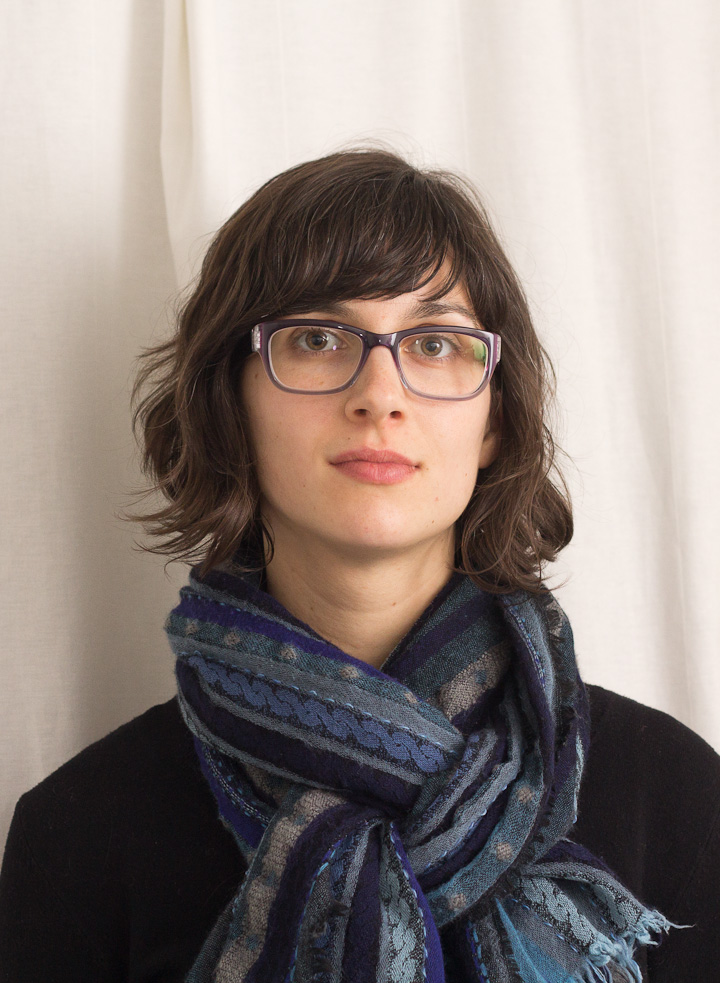
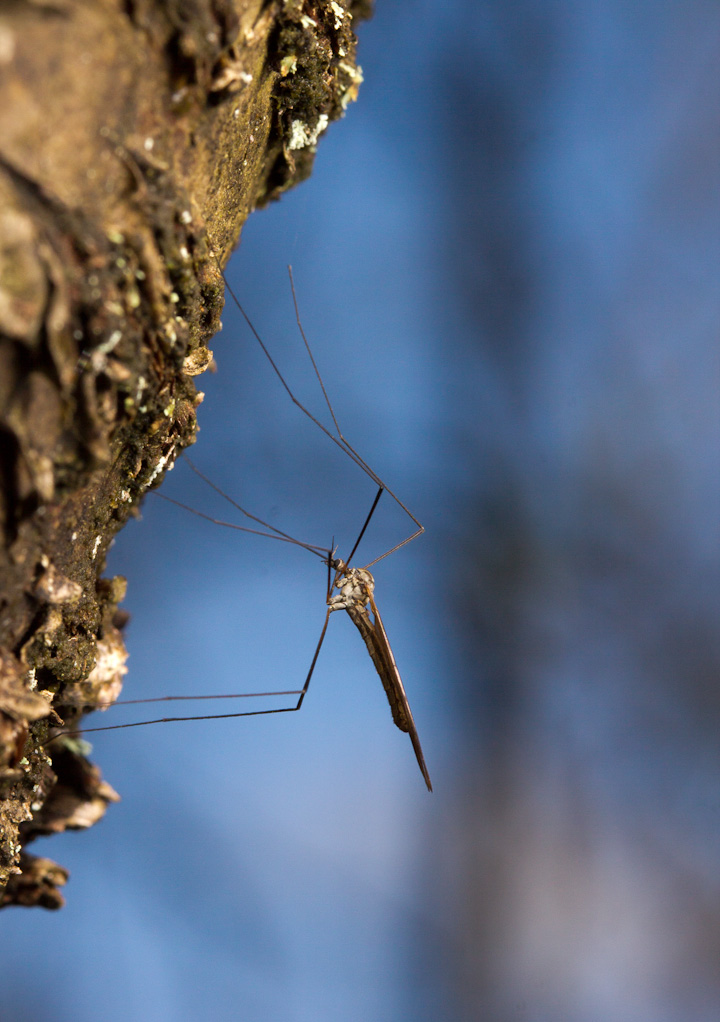
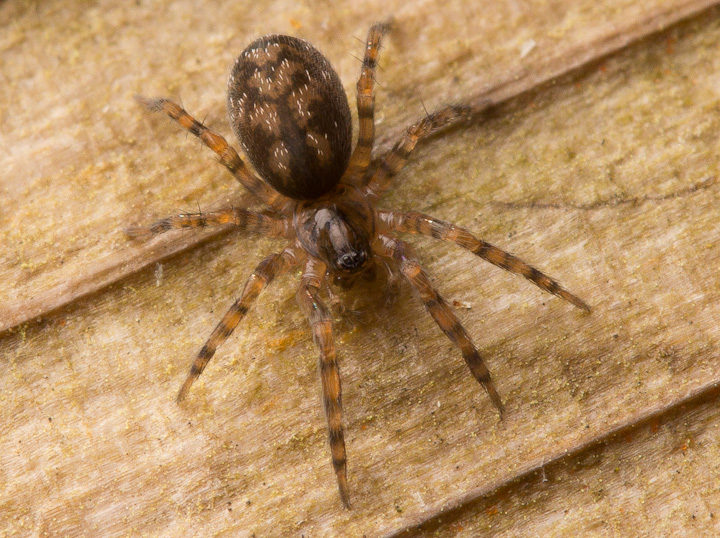
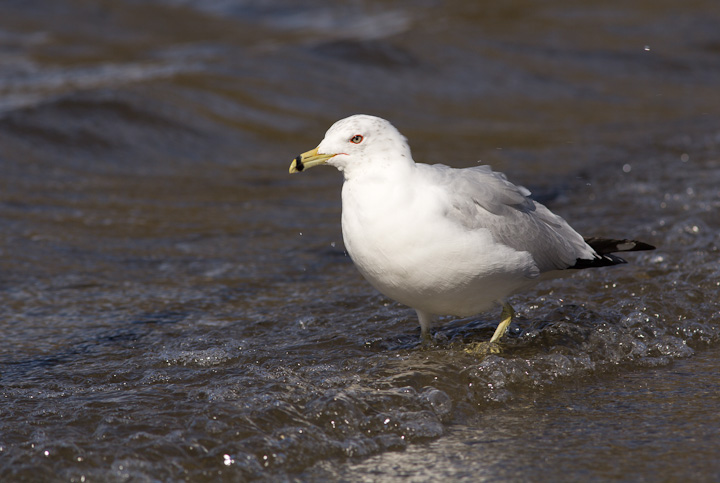
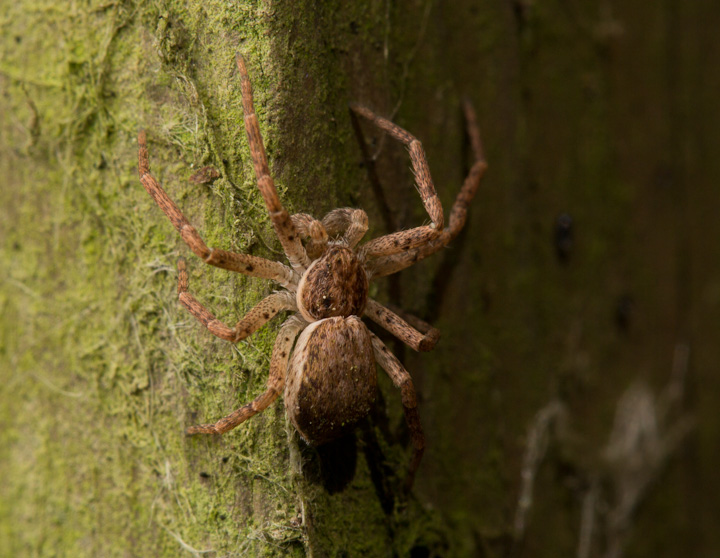
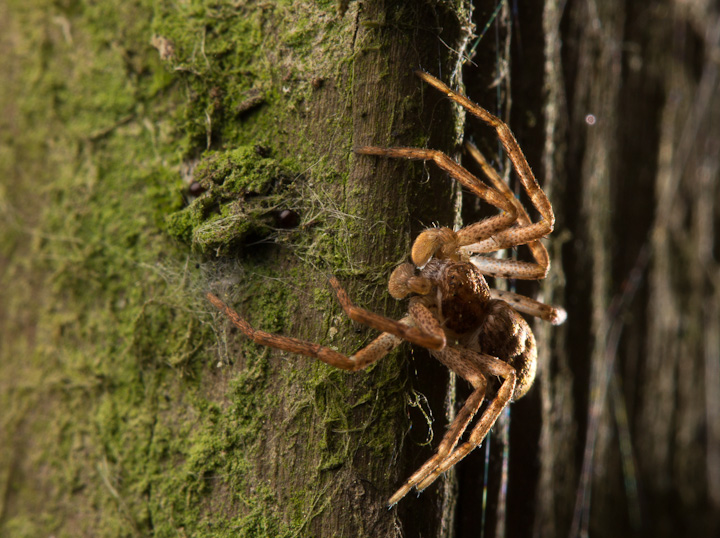
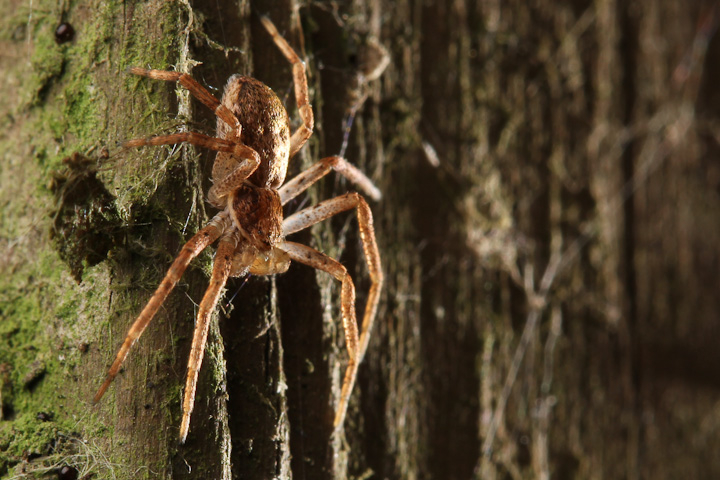
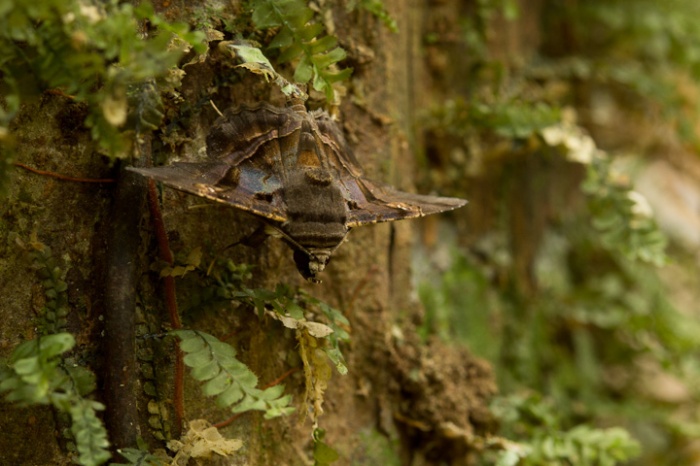
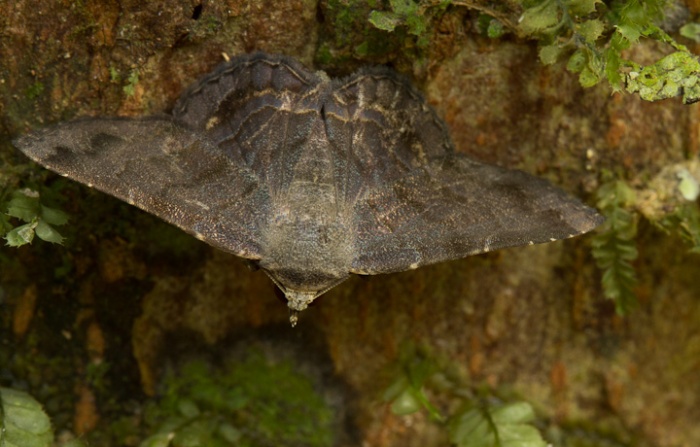
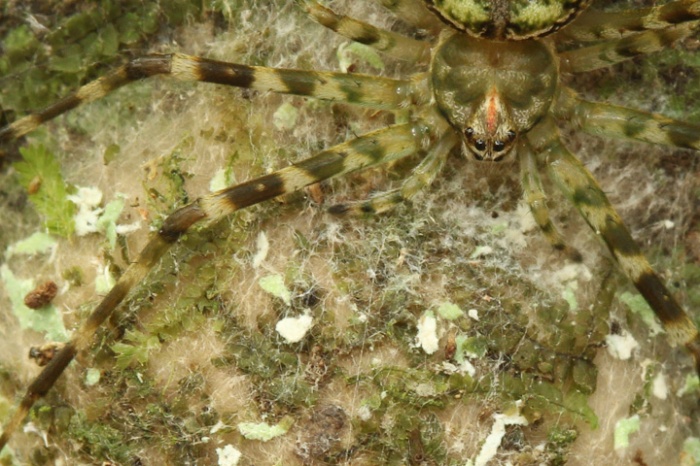
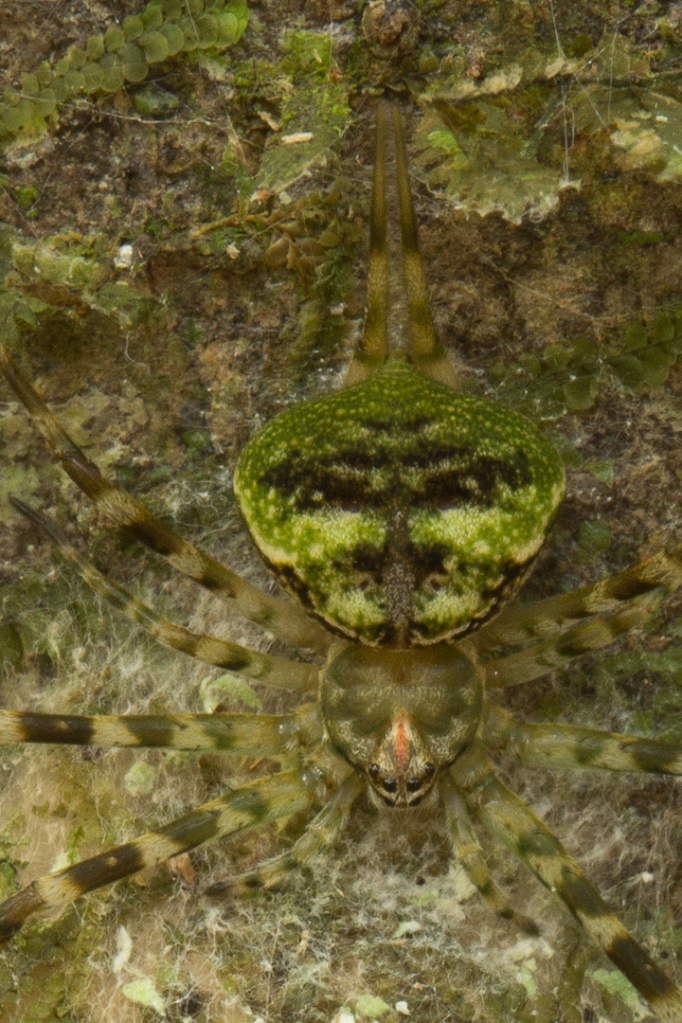
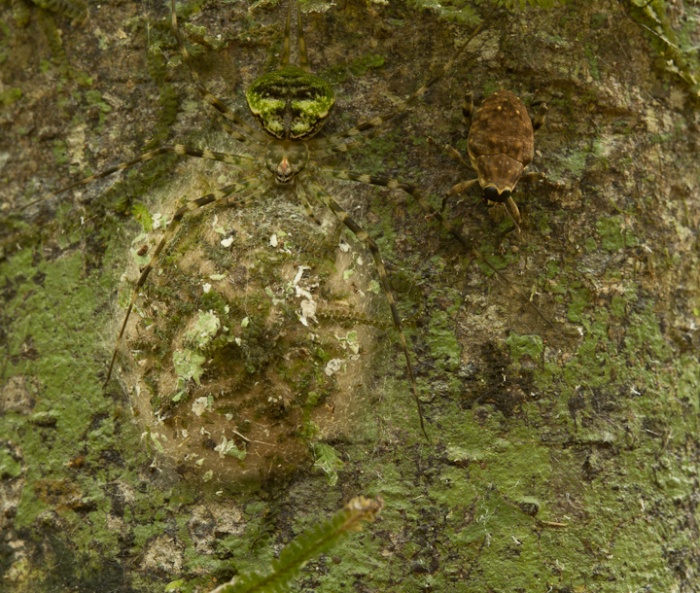
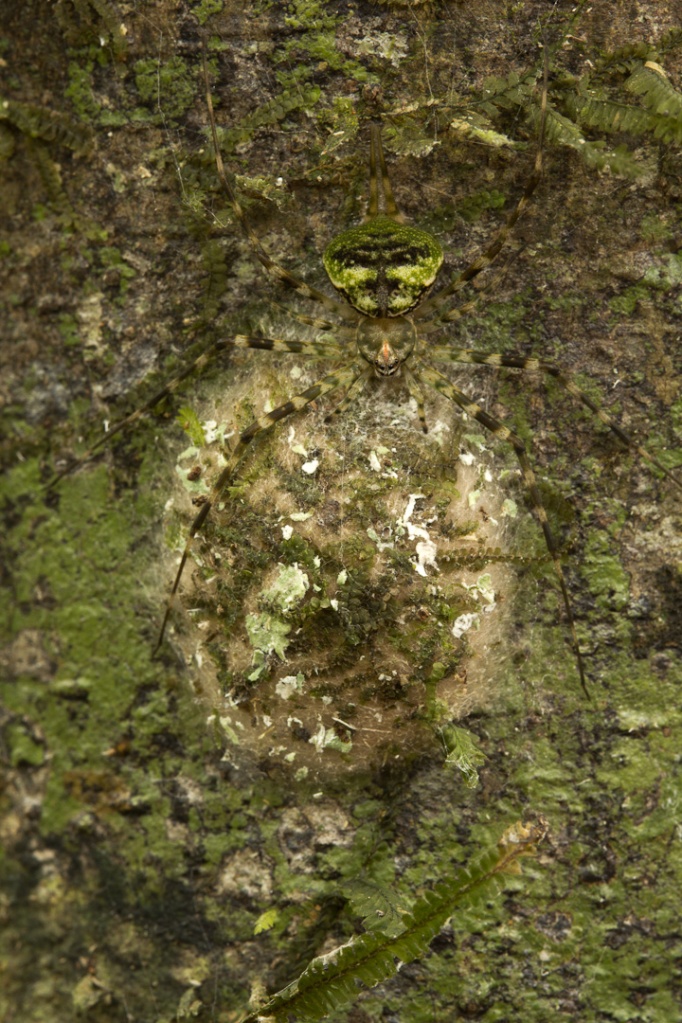
Here Catherine is modelling the flag in the “flag your subject position”. Her subject is a spider (appropriate!). Note how the direct flash does not fall on the subject, although the flash is on the camera. Instead the subject gets a nice even illumination.

Catherine modelling the “flag subject, light from the side (window light) position”. Note that she is a bit too close to the wall to get a nice large “window” light…Did I mention Vancouver is one of the most expensive cities to rent in?

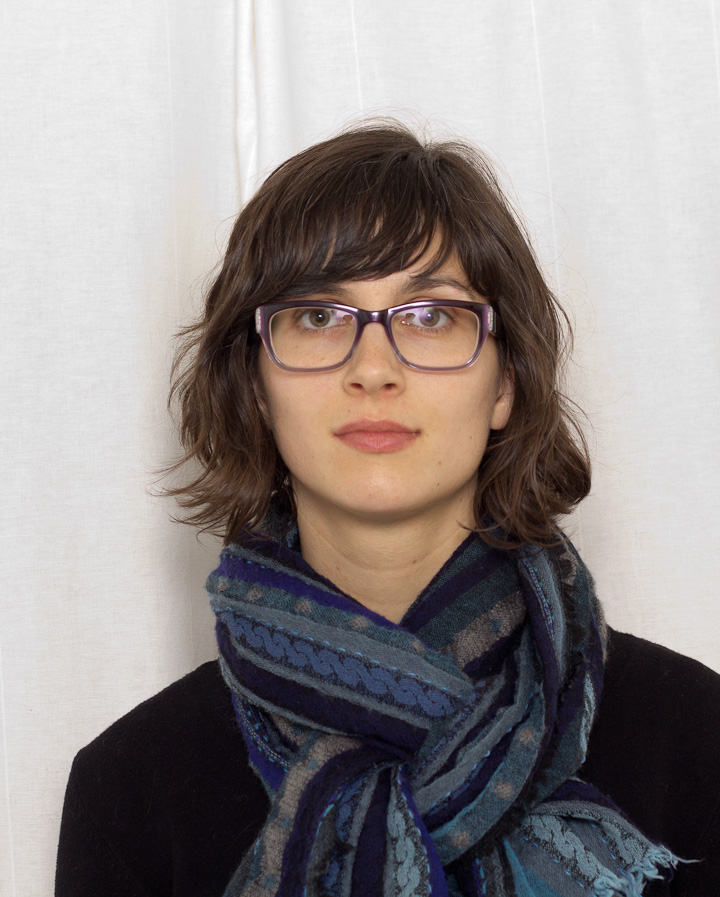
Catherine uses the black foamie thing in snoot configuration, showing the tight beam. This could be used off camera, perhaps as a rim light or hair light.

Here are some shots demonstrating the effects of the flag, starting with “window light, camera right”
Window light camera left:

Flag the subject, illuminate from above (note how there is some specular highlight in her glasses from the low ceiling, though the lighting is flat left to right):
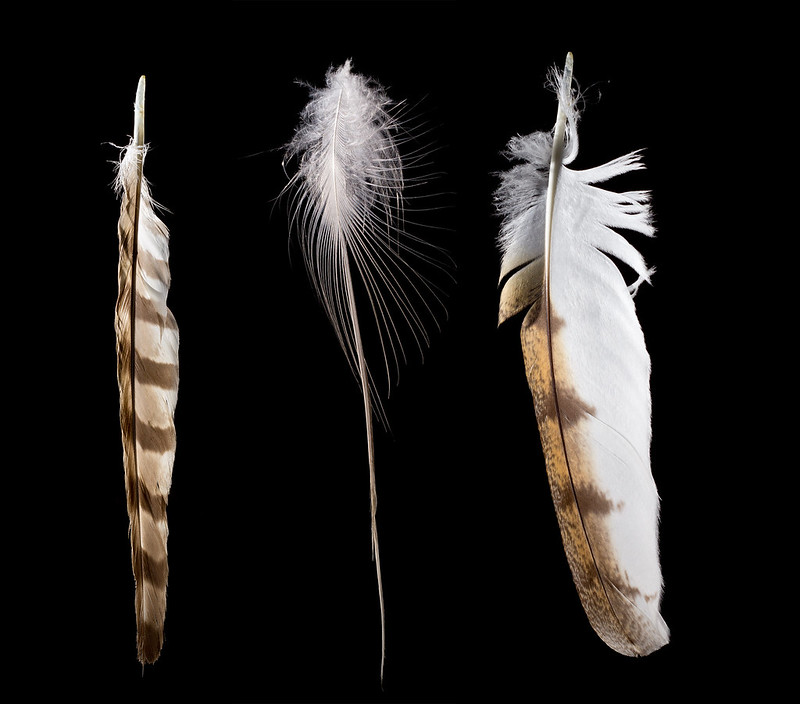
Here is a composite of three examples taken using two speeedlights with black foamie thing in snoot configuration, behind and to either side of each of these feathers in turn:
There are other ways to make and use these things, and even some commercial products which do the same thing. It can be a helpful tool to have around, and seeing as it costs 2 bucks, it is a good project for Cheapskate Tuesday.


