Tag Archive | Cheapskate Tuesday

Cheapskate Tuesday 3: Trigger Happy

No not the Weird Al song (although that is awesome).  I refer of course to radio triggers. What is a radio trigger? Well, very simply this type of device transmits a signal which then tells a receiver unit to make a pulse of electricity, which fires either a flash or your camera. If the transmitter is mounted on your camera, the trigger will command receivers to fire flashes or other cameras mated to receivers with a trigger cable.

I have been using the Yongnuo YN-602 triggers, but many of the more modern ones use a transceiver design, with each unit being able to act as both a transmitter and a receiver. The YongNuo products are cheap, and a transmitter with two receivers is about 54 bucks. Other brands may be even less expensive.

yn

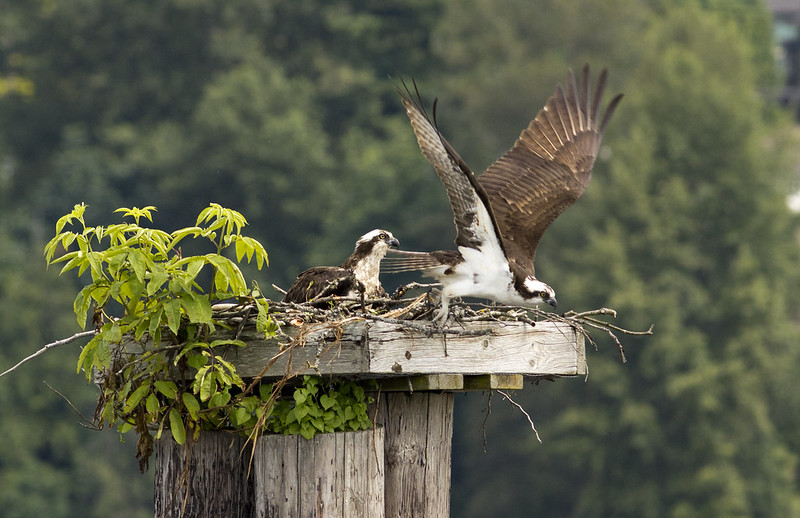
How does this work in practice and what can it be used for? Well, this summer, while sitting in front of this Osprey nest in Port Moody, I had my camera set up on a tripod, with a 300 mm lens aimed and focused on the nest. Rather than stand by the tripod with my finger on the trigger, I mounted a receiver on the hotshoe and held the transmitter in my hand. This way I was free to move around and not jostle my camera while waiting for the very infrequent visits by the adult Ospreys. When an osprey was about to land, I would trigger the camera, which was set to high speed burst mode, and get some shots…Maybe not the most elegant shooting, but fun and relaxing.

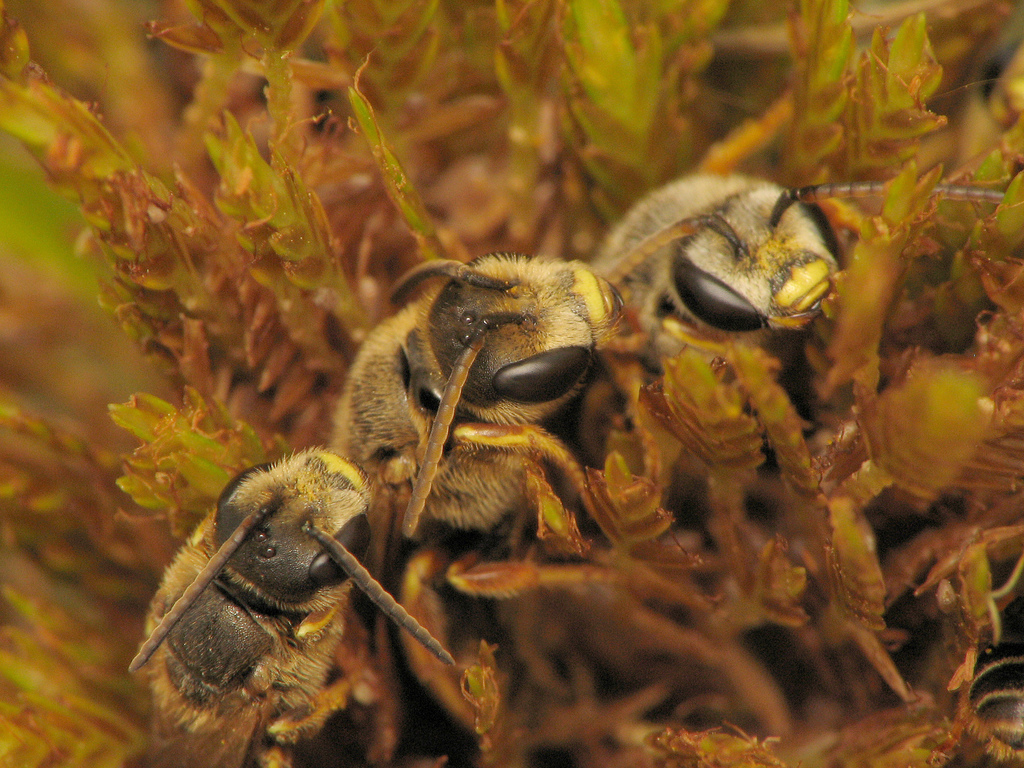
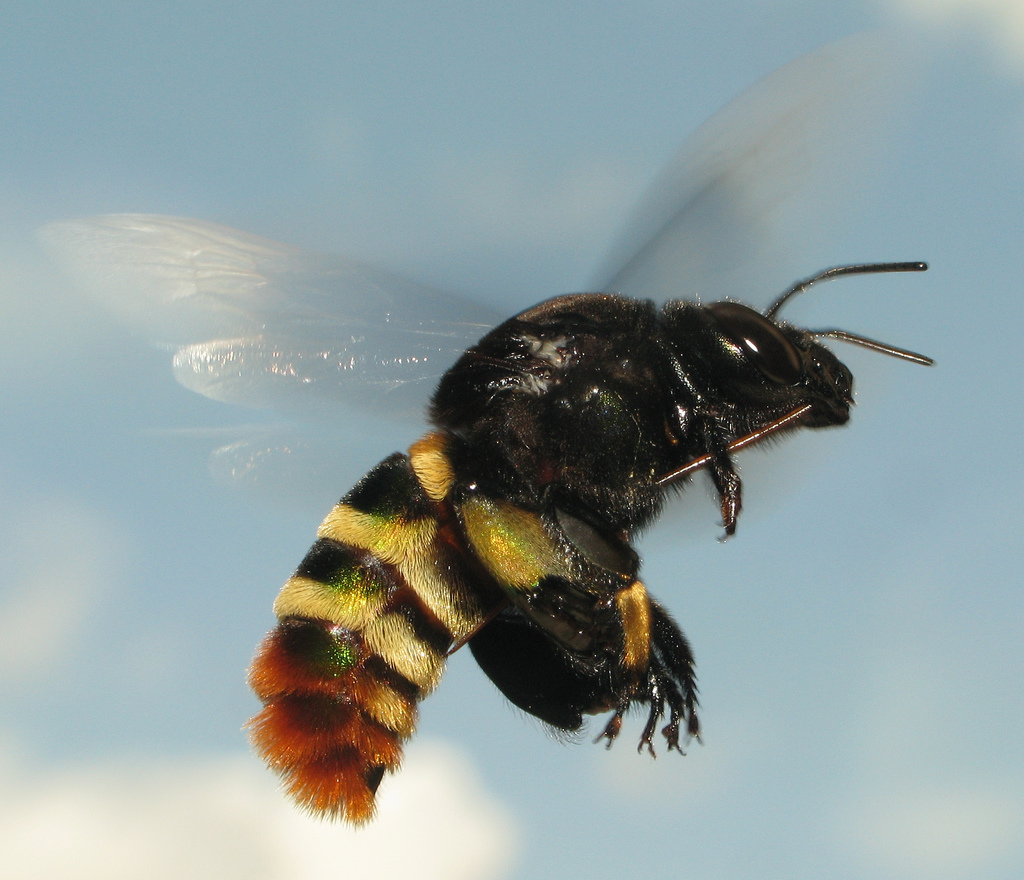
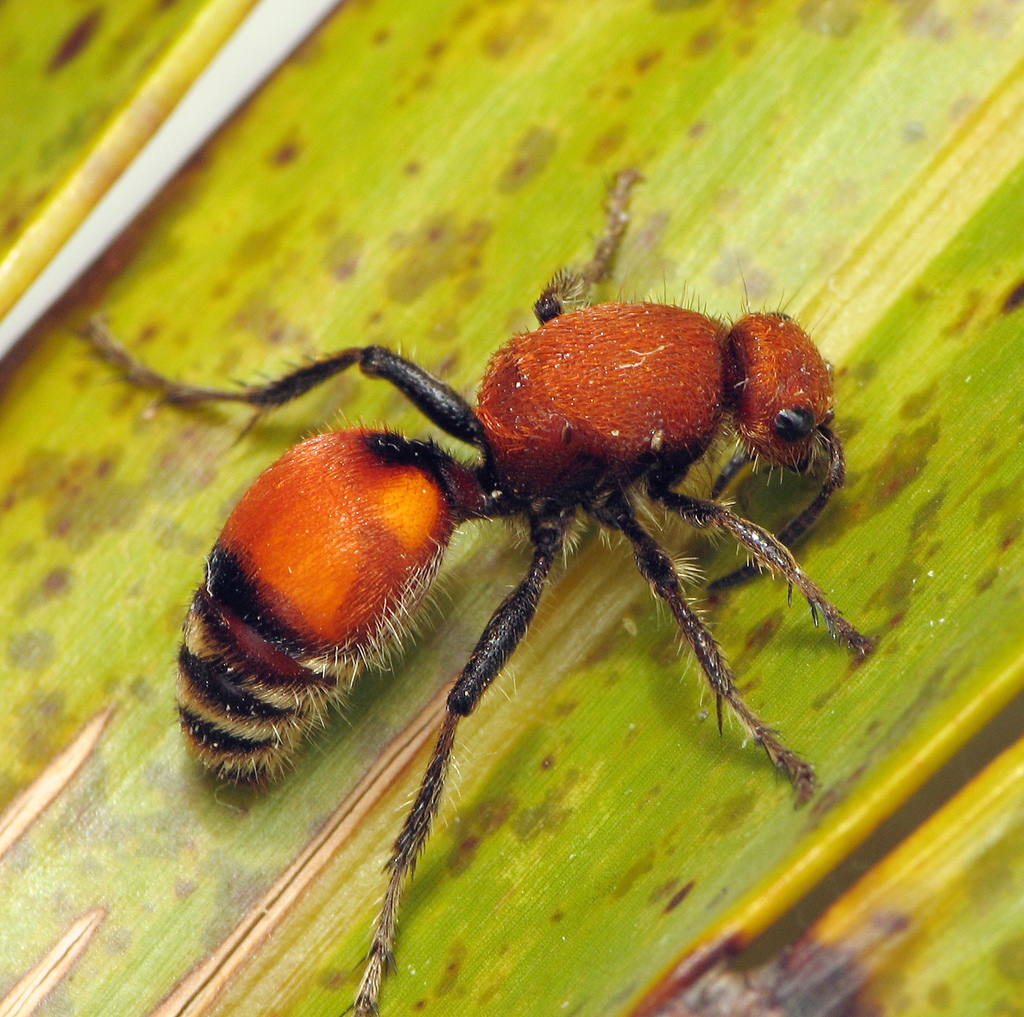
This Bombus vosnesenskii, was taken with my 100 mm lens and Yongnuo triggers firing the two speedlights mounted to a special bracket on my camera (to be covered in an upcoming post). In this case, the trigger is being used for its most common purpose, namely to trigger flashes.

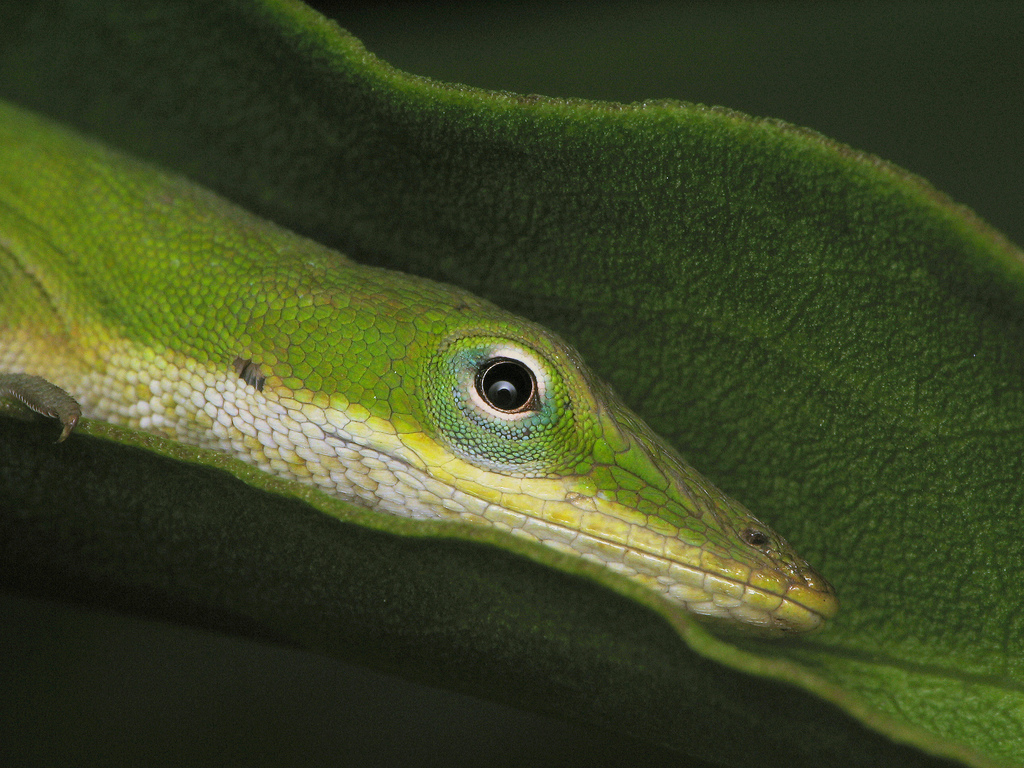
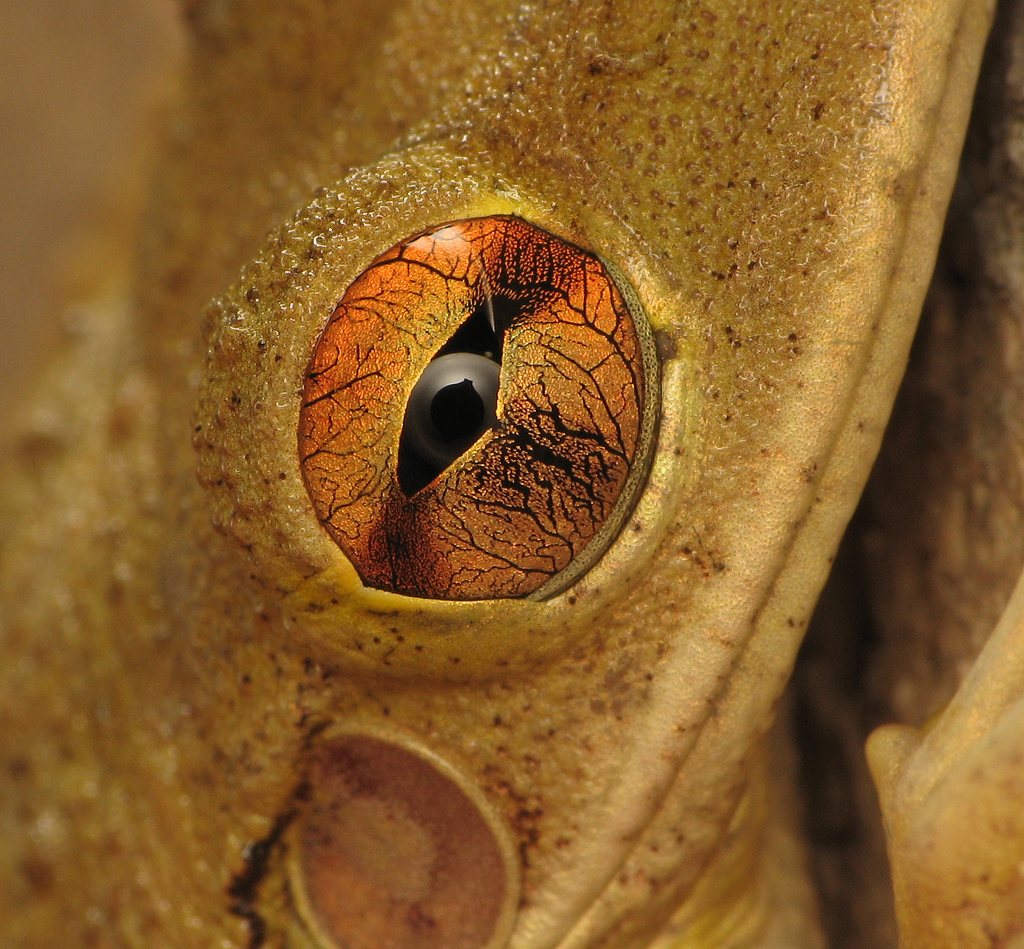
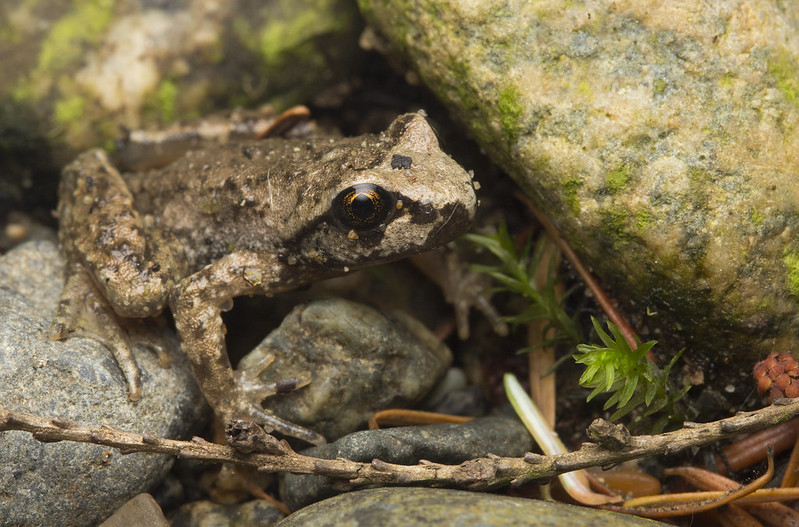
A sidelong portrait of the charming  Tailed Frog (also to be covered in an upcoming post) was also shot using the trigger to fire a flash, this time with a single speedlight with a Cheapskate Diffuser over the frog.

This unusual shot of a male Northern Flicker (Colaptes auratus) cleaning out the nest hole of baby poop was a bit more involved. It used two Yongnuo transmitters, one in my hand commanding a receiver attached to the “cable release” ( a 2.5 mm jack) to trigger the camera (as with the osprey shot), and the other transmitter on the hotshoe commanding a speedlight near the nest to fire.  This froze the bird in flight, and allows us to see what was going on.

These triggers can also be used for other things, such as triggering studio mains and other larger lights. Another useful trick is to combine them with Magic Lantern software to trigger recording of video on Canon DSLR’s. Probably the coolest usage would be to use them to trigger your camera in situations that would be impossible or too dangerous otherwise  such as near shy or dangerous animals. The range is about 100 m or so, so you will have lots of room!

These things are versatile and cheap, so get trigger happy!

Cheapskate Tuesday 2: The Raynox DCR 250

This shot of a sharpshooter, Oncometopia nigricans, was taken with a compact superzoom and a Raynox DCR 250 lit with the onboard flash and some styrofoam bowls (see below).

Much of the reason I got into photography is the desire to document the wonderful world of insects. This is the realm of macrophotography and is a great one for beginners to get into, because stellar results can come from even modest equipment (provided you are willing to work to achieve them).

One of the best pieces of equipment to get going in macro is the Raynox DCR 250. This marvelous piece of glass fits on the front of a lens and allows you to snap some great high magnification shots. If you are hesitating about getting a macro lens, but still want to get some nice closeups, this is your tool. It costs about 70-90 bucks.

These types of attachments are often called “diopters” or “close-up filters”, but the difference between these and most others on the market is that these ones don’t suck . They are a 3 element design, and are multi-coated for good contrast and flare control. When using this lens adapter, you use your zoom to set your magnification, and then the focus for the close work. Using my DSLR with it attached to the front of my 18-55 IS (kit zoom), I can fill the frame with something 35 mm across. This is not quite 1: 1, but getting there.

If you do not have an SLR, fear not! It also makes a wonderful attachment for compacts, especially the so called “superzooms”. You may need a special adapter to fit it to, but once it is on, the strong telephoto character of the superzoom allows some pretty good closeup ability.

My early days shooting macro I used the combination of the Raynox and a Canon S2IS extensively. I loved the versatility of this combination, and I sometimes still miss it! Below is a monstrously ugly photo I once took of that setup. Here you can see the styrofoam bowl which acts as a flash diffuser for the onboard flash fitted around the bayonet adapter,.  The Oncometopia nigricans photo at the top was taken with this setup, as were many of my favorite macro shots.

Below you can see the Raynox itself. It comes shipped with a clip on adapter (visible in the shot above) to mount it to various sized filter threads, but this is somewhat flimsy and will break at some point. The interior portion is threaded, so you can just get a step-up ring from 43 mm to whatever size filter thread you want to attach it to.

IMG_3310

IMG_1102

Here is a shot I took yesterday of a Polistes aurifer (from the lab!) using a borrowed (thanks Mike!) Canon G12 and Raynox DCR250. The light is the YN460 with the Cheapskate diffuser featured in last week’s Cheapskate Tuesday.

IMG_0134

This is a subject that is close to home for many of you, the Cellar Spider, Pholcus phalangiodes shot last night with a Canon A720, the styrofoam bowl diffuser, and onboard flash.

IMG_3359

The equipment used to capture the Cellar Spider. The camera was 50 bucks at a pawn shop.

IMG_3339

The same Polistes aurifer male from the lab, this time shot with my DSLR and the inexpensive EFS18-55 IS with Raynox DCR 250, also lit with the Cheapskate Diffuser. This same  lens combo is often used to stunning effect by Techuser, a.k.a. Brazilian nature photography guru  João P. Burini of Primal Shutter.

IMG_1107

The combo in question. EFS 18-55 IS II, a lens you can probably buy for 100 bucks, and the DCR 250.

To sum up, the Raynox is an adaptable piece of equipment, and unlike many macro adapters, this one is actually good.  I no longer have one of these, having given mine away a couple years back to an aspiring macro shooter from French Guiana, but picking it up again to write this up makes me nostalgic. I think I will have to end with a gallery of some of my favorite shots with this awesome little lens.

Cheapskate Tuesday 1: cheap flash diffuser

Nabid at Burnaby Lake Park
the subject was illuminated with the cheapskate diffuser

Hi, and welcome to Cheapskate Tuesday! Here I will try to convey how I mess up my photos by cheaping out I save money by applying a DIY ethic to photography projects. I plan to explain as many of my tricks as I can, and then will scour around teh internets for cool looking budget-minded photo mods and tricks.

This week, another version the ever popular macro flash diffuser…There are endless varieties, but the whole purpose of them is to enlarge the size of the (small) light source relative to your (probably small) subject, improving the quality of light by filling in shadows and reducing specular highlights.

I will admit, this idea is not wholly my own. When I read this post by Piotr Naskrecki (one of the greatest close-up shooters around) and he mentioned using file folders to diffuse speedlights, I immediately went out to the dollar store to find some…I am not sure if I found the same ones, but here is what I riffed off of that:

This badboy you can build for roughly two dollars. So say you have your flash, and since you are budget minded it is a beat up Yongnuo 460-II (35 bucks used, baby)…

IMG_3096
First things first…You have velcro around the flash head, right? If not, put some there… This will be important later. I like to use the soft side, because sometimes I cuddle up with my speedlights.

Next, you need to get a file folder such as this:

IMG_3093

Look for yours at a dollar store, or budget office supply store. The key feature of this is that it has a white plastic interior…It is almost the thickness of paper, but it is a nice tough white plastic… I have no idea what the composition is, but the stuff is tough! It supposedly is imported by DTSC Imports in Burnaby BC, and made in China.

Next, tear away all the pink and transparent plastic, leaving two beautiful sheets of white plastic:

IMG_3098
Next, fold one of the white sheets so that the two shorter sides meet midway…Give it a good crease.

IMG_3102

Next, cut two flash-head-sized pieces of self adhesive velcro (the hook side this time!)

IMG_3100

Stick those about where you might expect them to go:

IMG_3105
And voilà!

IMG_3106
Stick it to your flash head:

IMG_3110

Make a few, throw em in your bag, and there you go.
I like this modifier in particular because it stores as flat as a sheet of paper. The plastic is so tough, you don’t have to worry about it tearing, and it won’t get dirty like fabric-covered softboxes. Also it costs 50 cents….

I made extensive use of this simple mod on my recent field excursion to French Guiana, and appreciated the simple stowing and quick deployment this device offered. Here are some examples of what it can do:

IMG_1776

Hoppers in front of the shower? No problem!

IMG_2053

This ant is in a world of hurt

IMG_2258

It works on Rhinella maragritifera (crapaud feuille) as well.

IMG_2663

Try these diffusers on crickets!

IMG_3033

This glass frog was a little challenging…

IMG_3708

Jumping spiders are a good way to test any flash diffuser!

Note: you could probably use the pink translucent stuff to gel your flash for some really weird looks, or perhaps for other arts ‘n’ crafts.  The transparent stuff might make a good humidifying cover for an insect cage, or whatever else you might use transparent plastic for.  Good luck and good shooting!