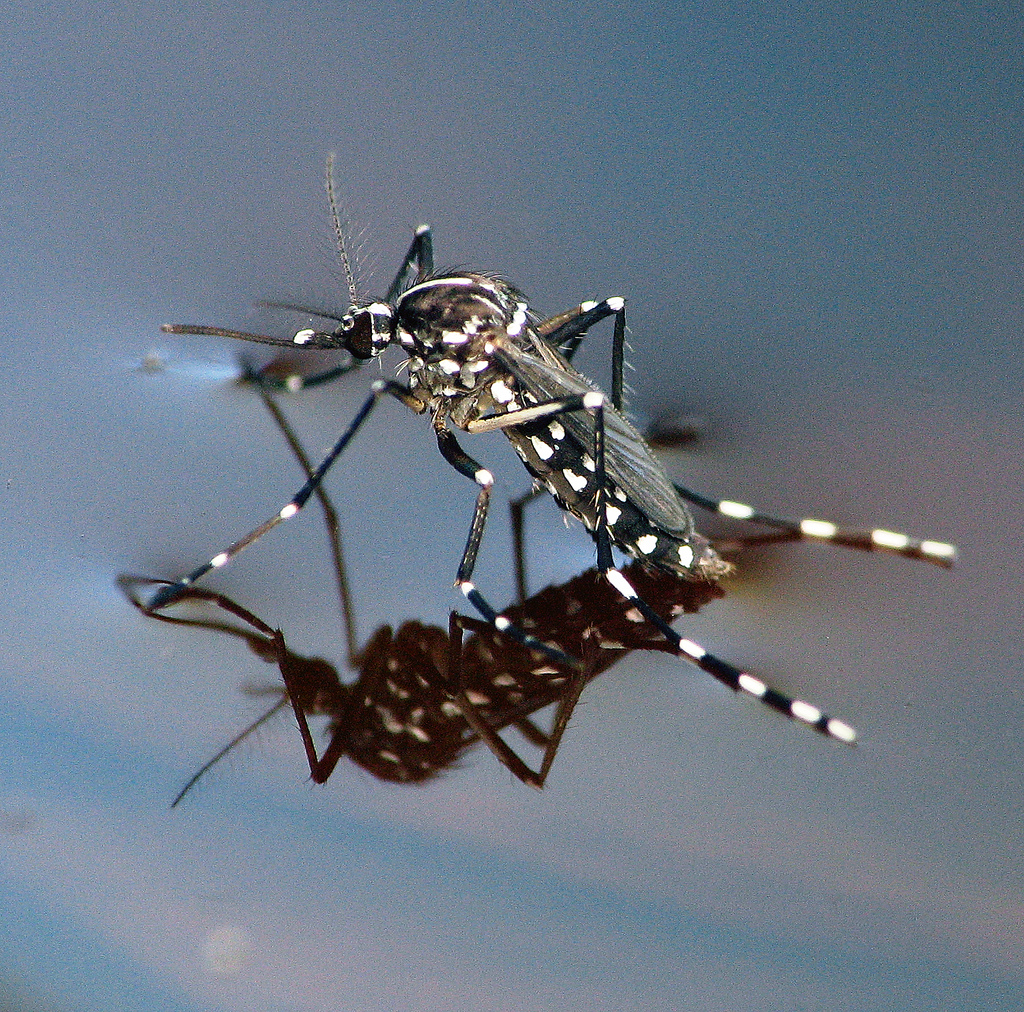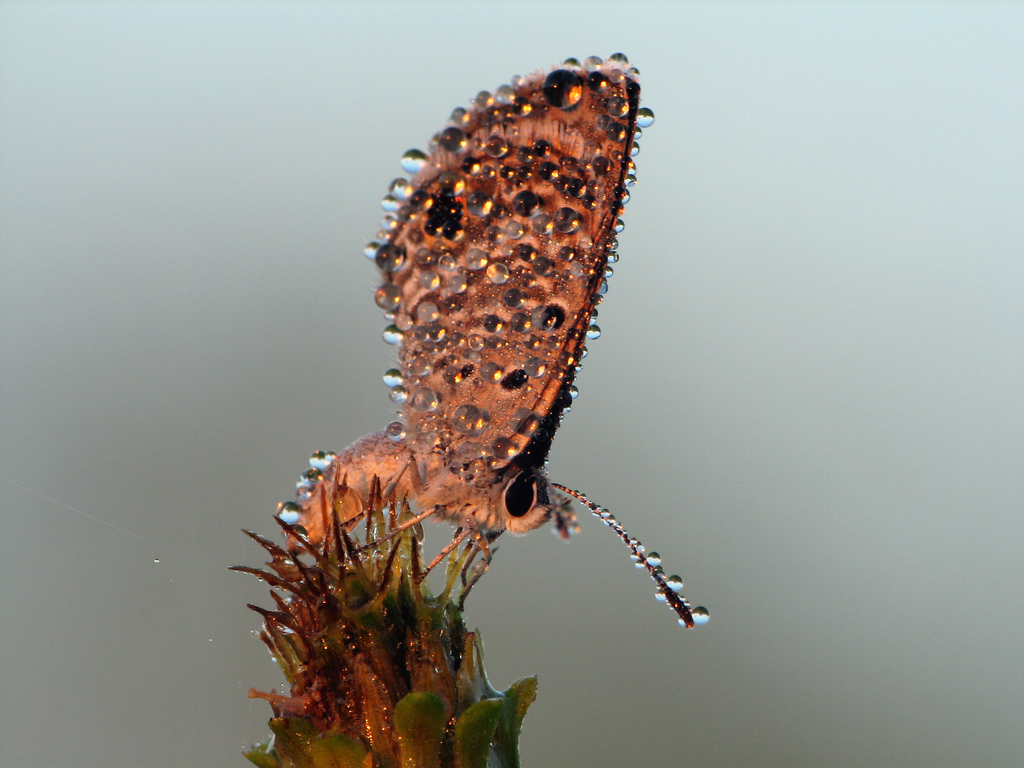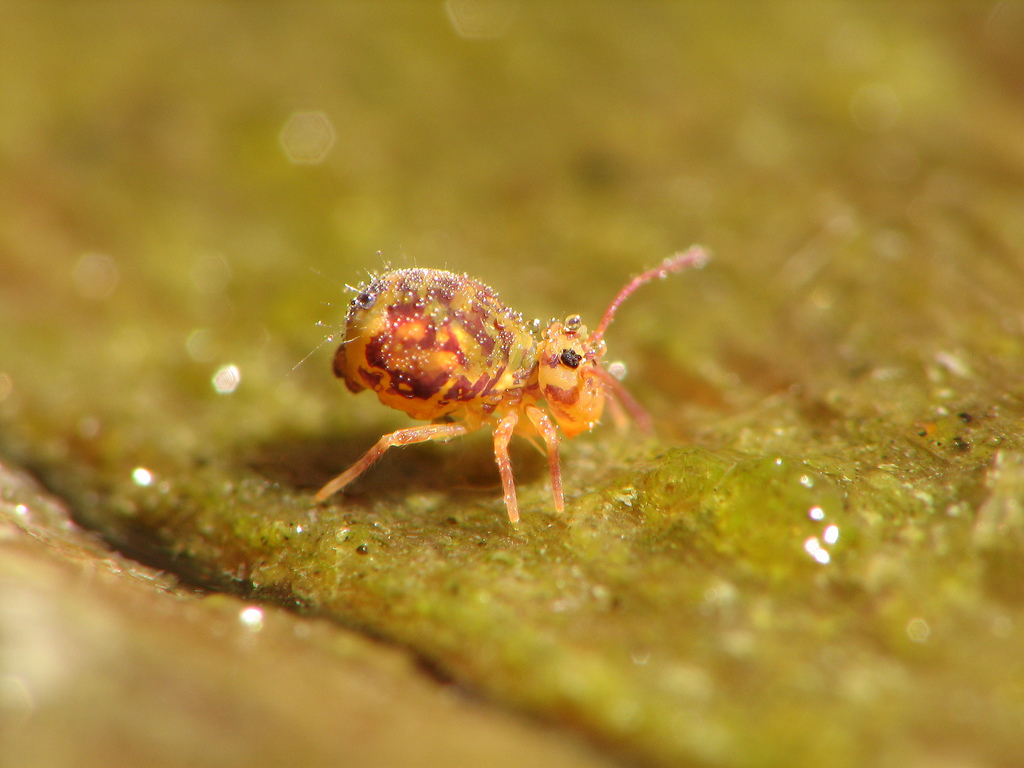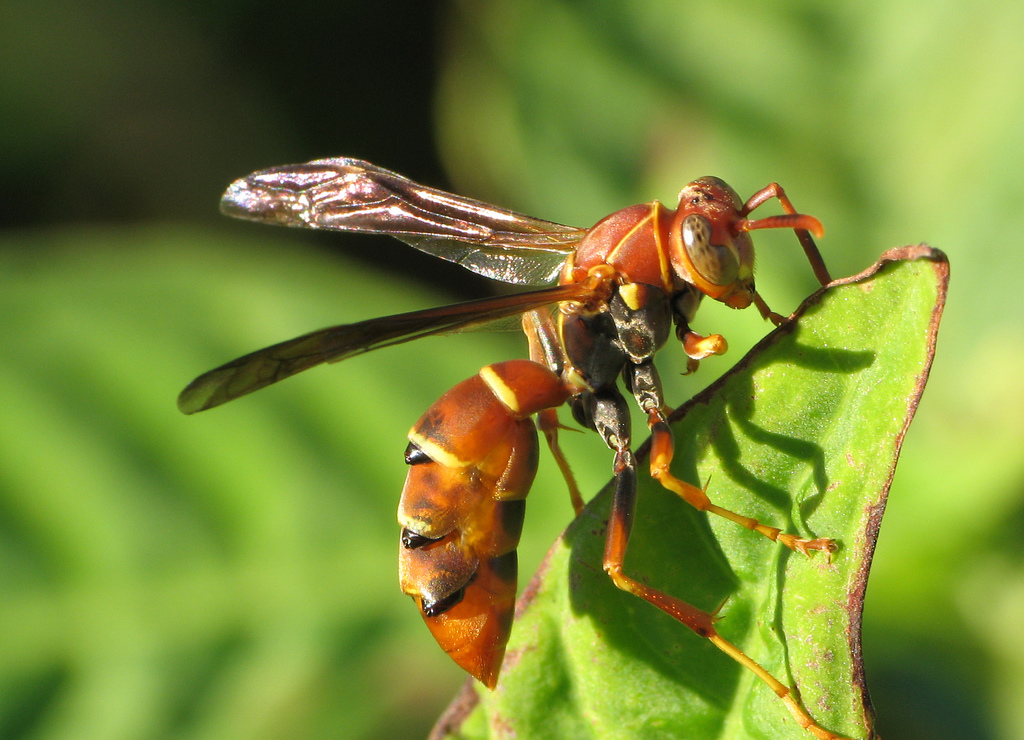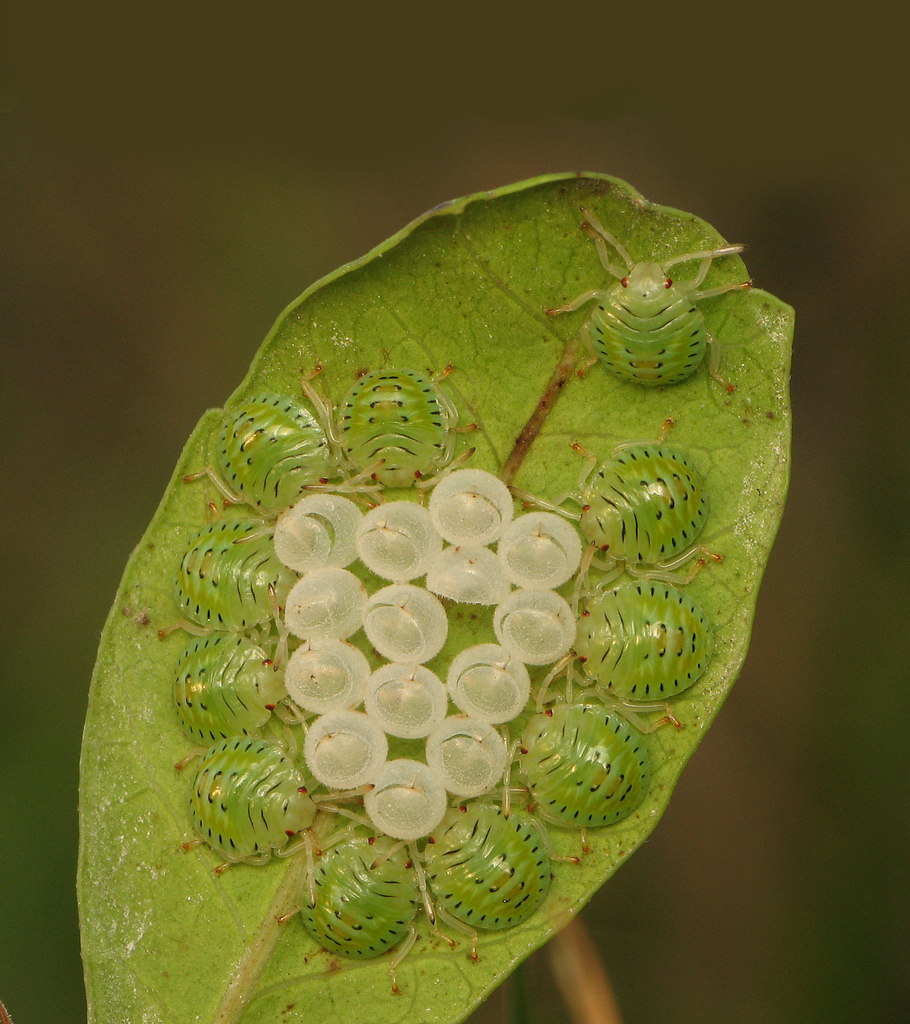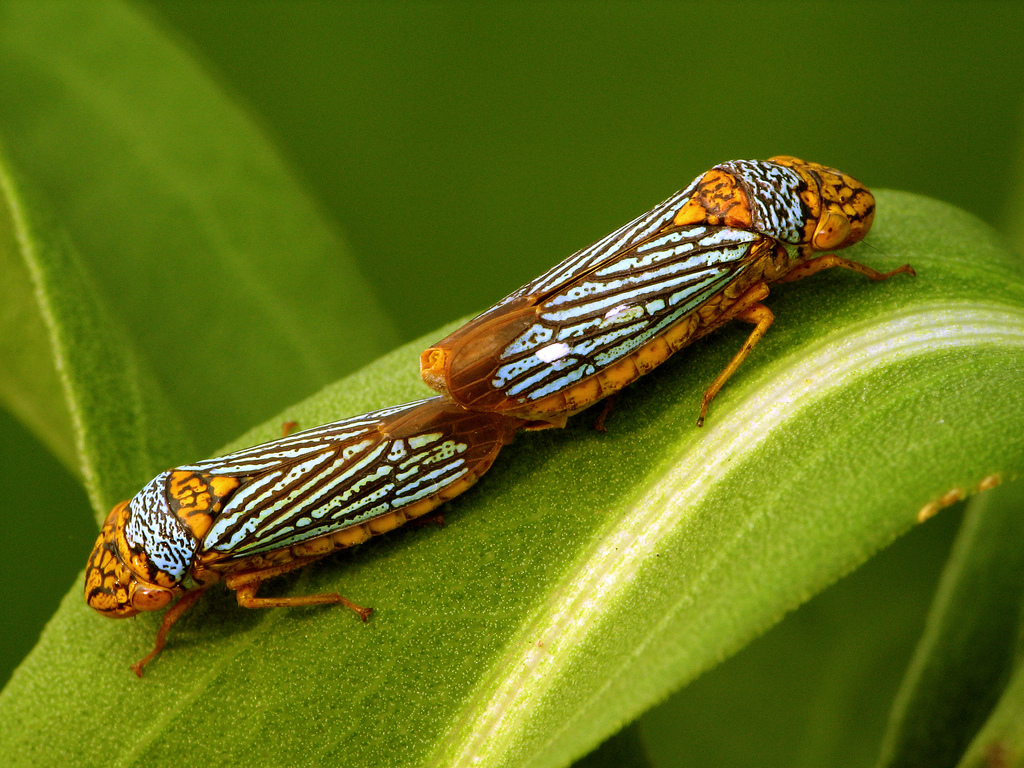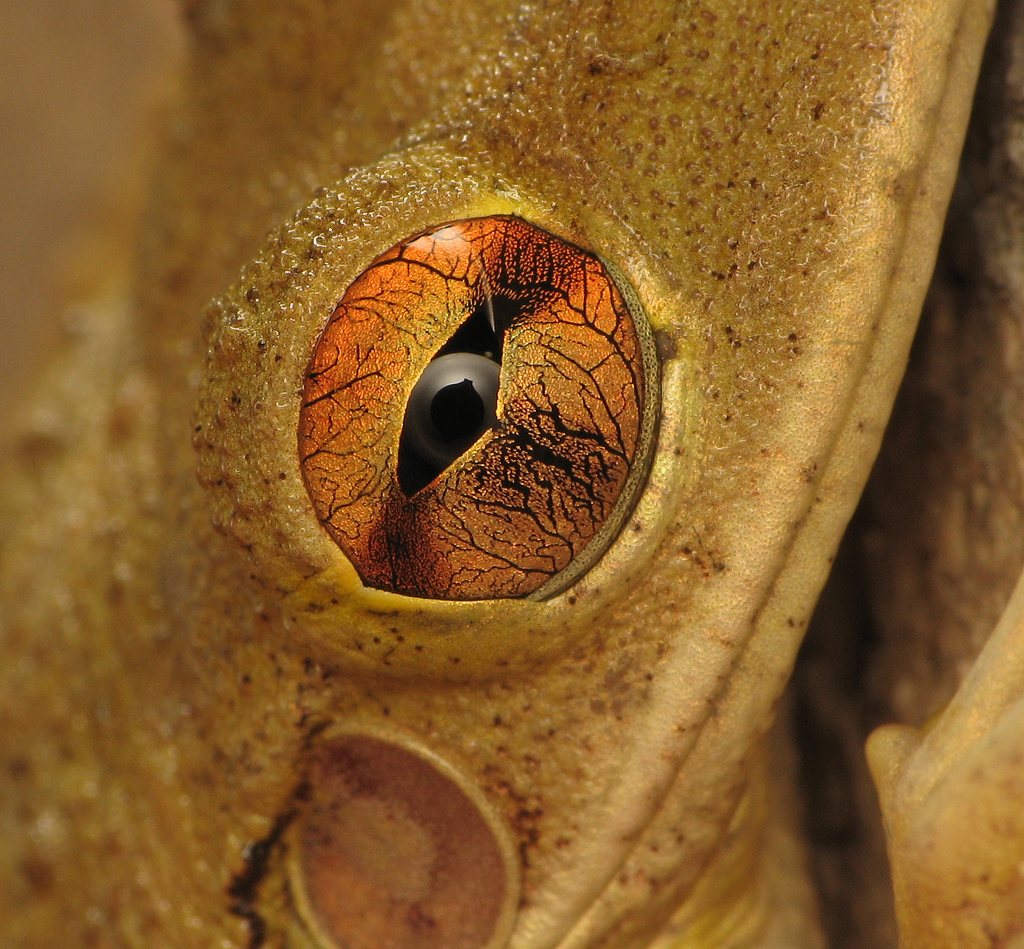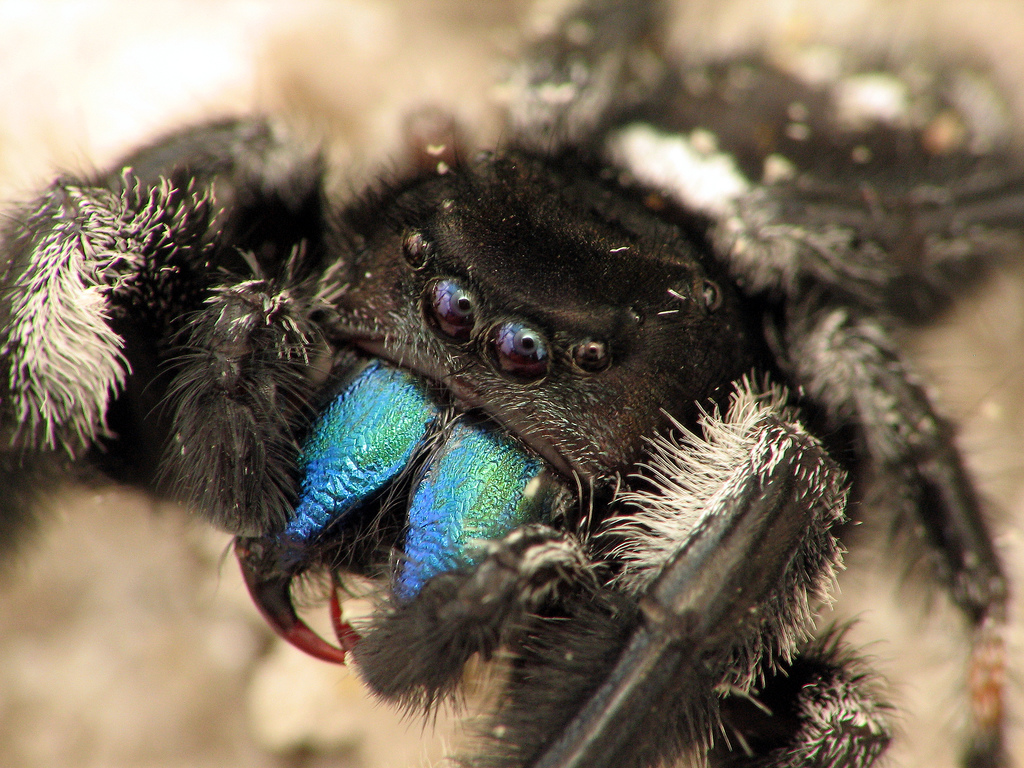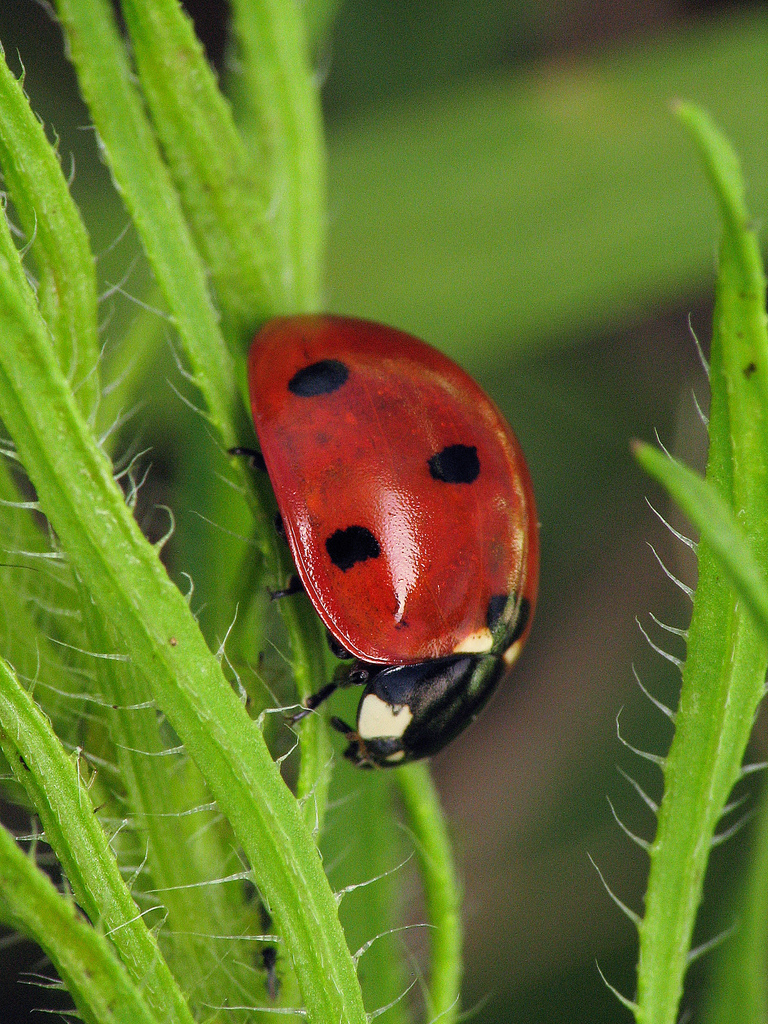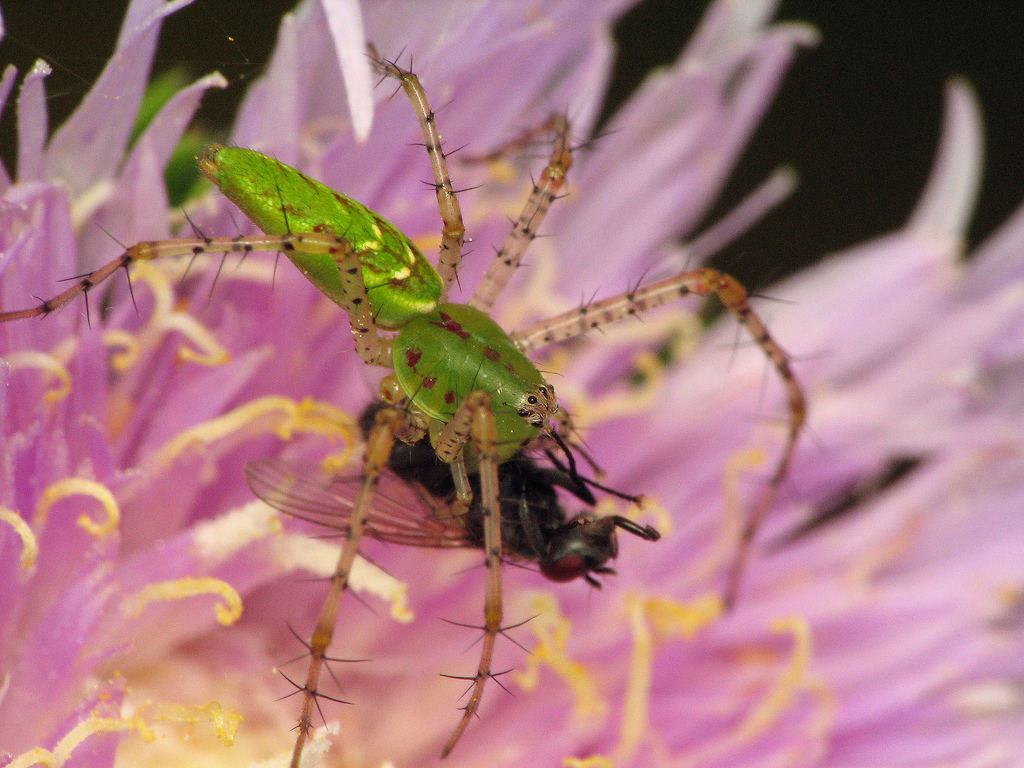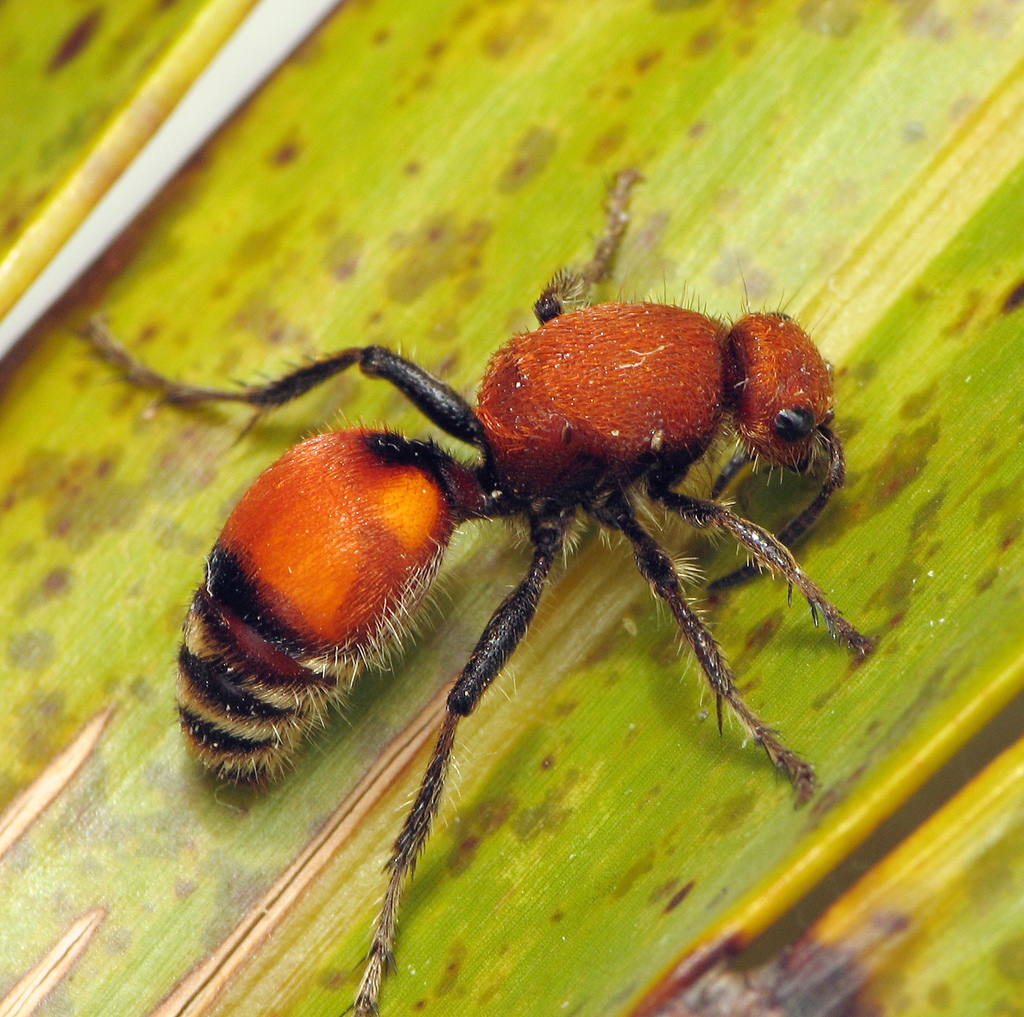
One of the cheapest and highest-quality ways of getting into closeup and macro photography with a DSLR is to use your nifty fifty on extension tubes. Extension tubes are a time-honoured way of decreasing the minimum focusing distance of any lens by moving it further from the image plane. The magnification you can achieve depends on the focal length of the lens and the amount of extension.
Perhaps the best illustration is to show a familiar object at three different focal distances with different combinations of tubes.
Here is what the 50 mm can do at its closest focusing distance on a cropped-frame camera:

with just 12 mm of extension, here is the same subject:

And with all 65 mm of extension tubes added, we can get really close:

Clearly, there is a great difference in close focusing ability with the tubes mounted. Also, I used an American penny as we just got rid of ours.
When you buy extension tubes, they often come in a set of three. mine had 13, 21, and 31 mm tubes, for a combined total of 65 mm.

As you can see in the photo above, the tubes have contacts to command the lens’ focus and aperture from the camera. While these that I bought some years ago are often the cheapest of the products available (about 50 bucks a set), I recommend buying the more expensive Kenko branded ones (maybe 170 if you shop around?). My old tubes are mostly plastic, and the mount pieces are starting to wear and break. Kenko tubes have metal mounts and thus should last much longer. Sometimes being a cheapskate doesn’t pay off! That being said, if all you will mount will be the 50, the plastic tubes should last a good long time. With heavier lenses, there is bound to be more strain on the mounts.
With 65 mm of extension on a 50 mm lens, we can achieve slightly better than 1:1 magnification. This means that we can fill the frame left to right with a subject measuring 22 mm on a crop frame camera. This is pretty darn good for most insect work.
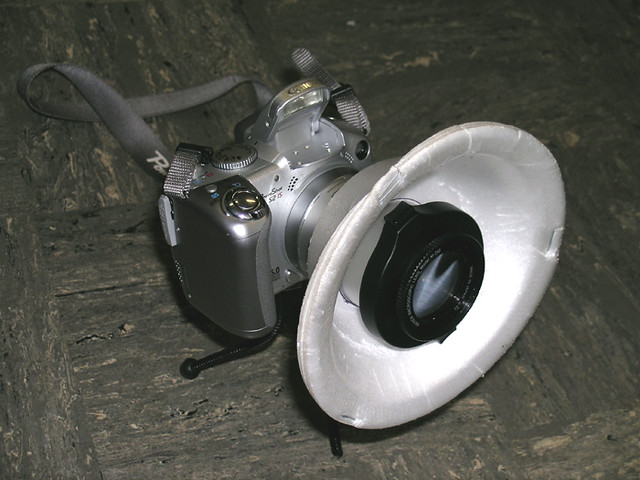
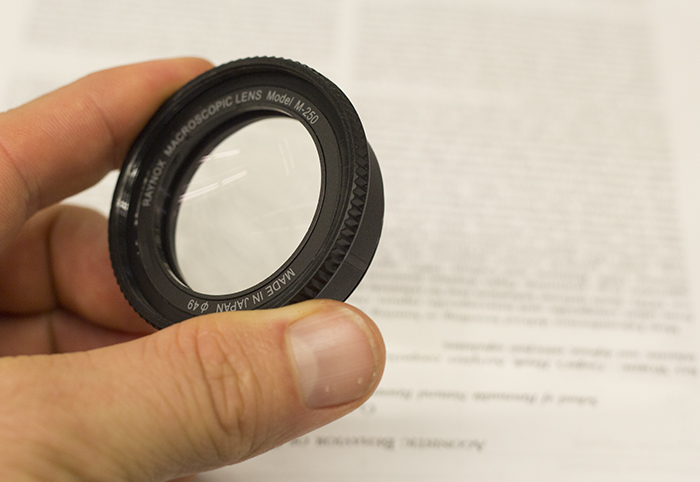
Where extension tubes get difficult is that to achieve different magnifications, one has to keep swapping them out and re-combining them. While all this fiddling is going on, your subject may be some distance away! Also, while the tubes are mounted, you have only a narrow Goldilocks zone of focus, and you cannot focus to infinity. If you were crouched down shooting a butterfly and Bigfoot walked by, you might miss the shot, while your buddy with the compact camera and the quick-dismounting Raynox DCR 250 would nail it!
Nonetheless, this is a great method for getting into macro and closeup photography.
So what kind of real-world results can be achieved?
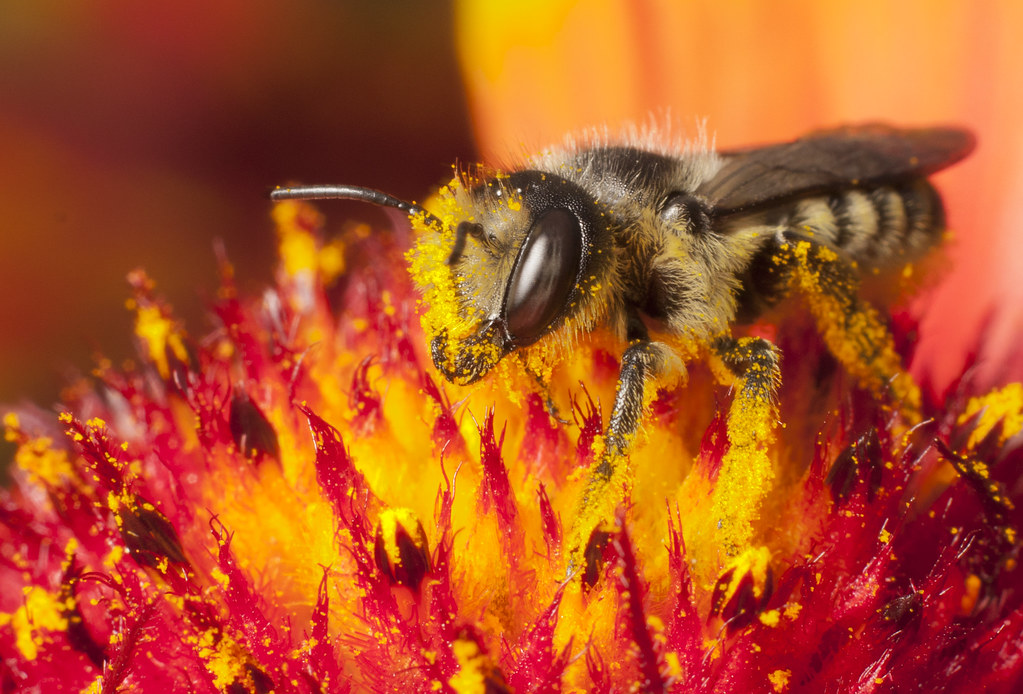
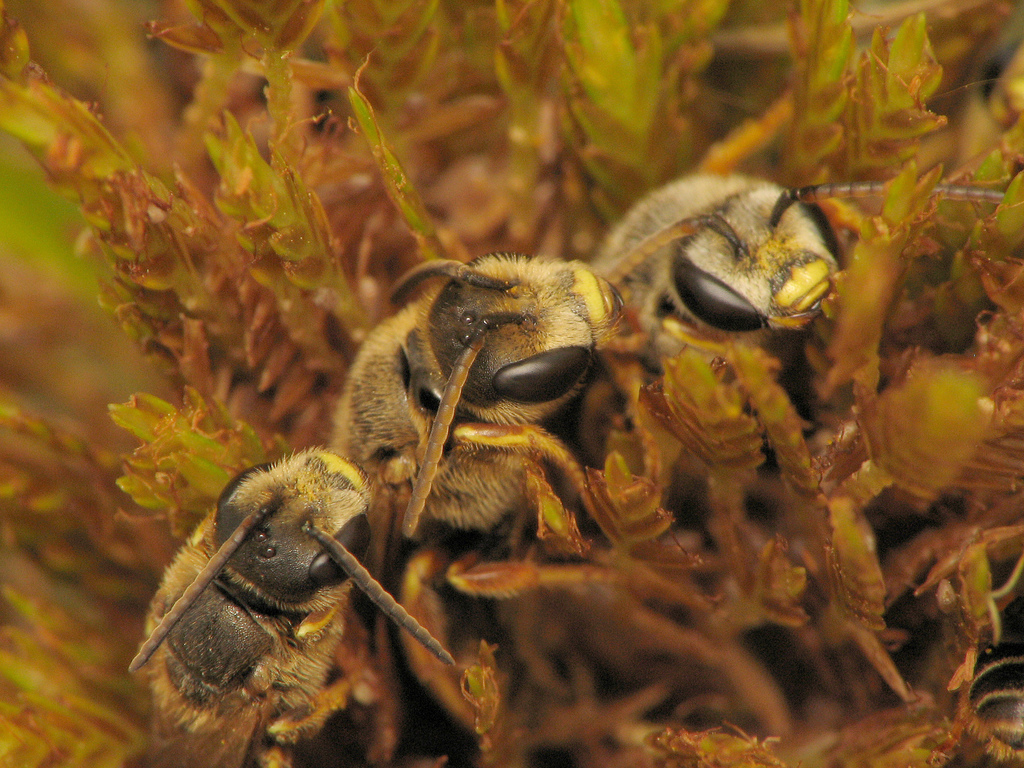
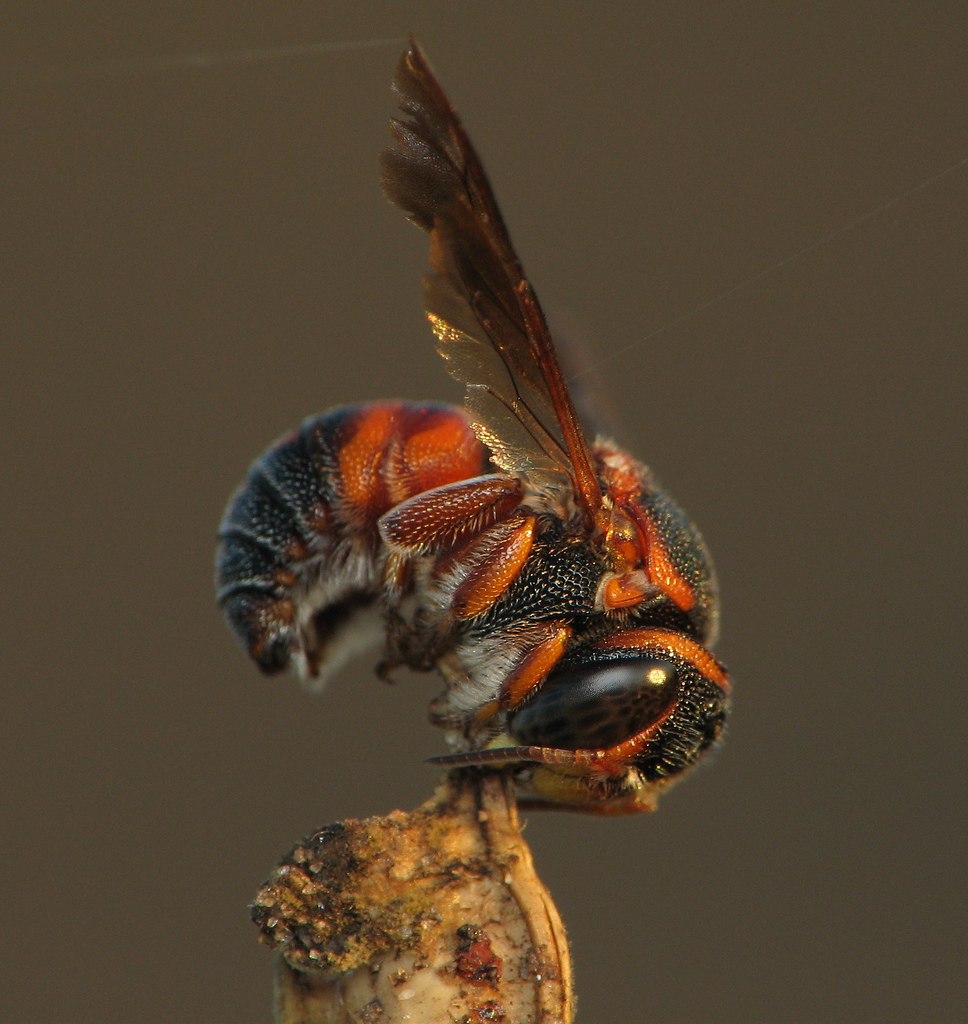
This megachilid bee, photographed at Iona Beach, is brought in very close with the 50 mm on 34 mm of extension tubes.
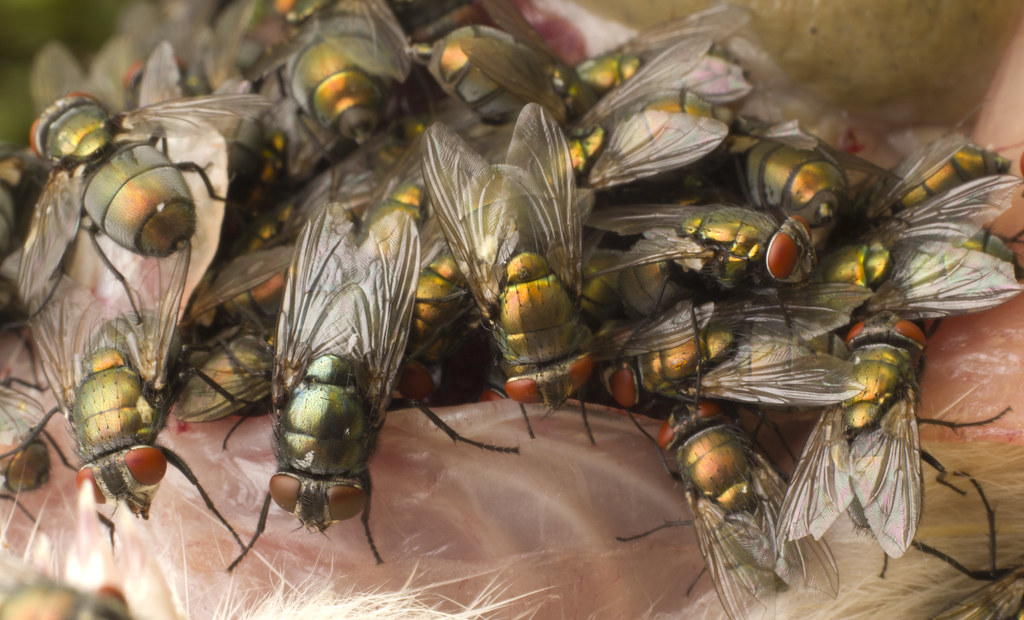
A group of Lucilia sericata and a lone Phormia regina feed on the abdominal cavity of a dead rat. This shot used the 50 mm on just 13 mm of extension.
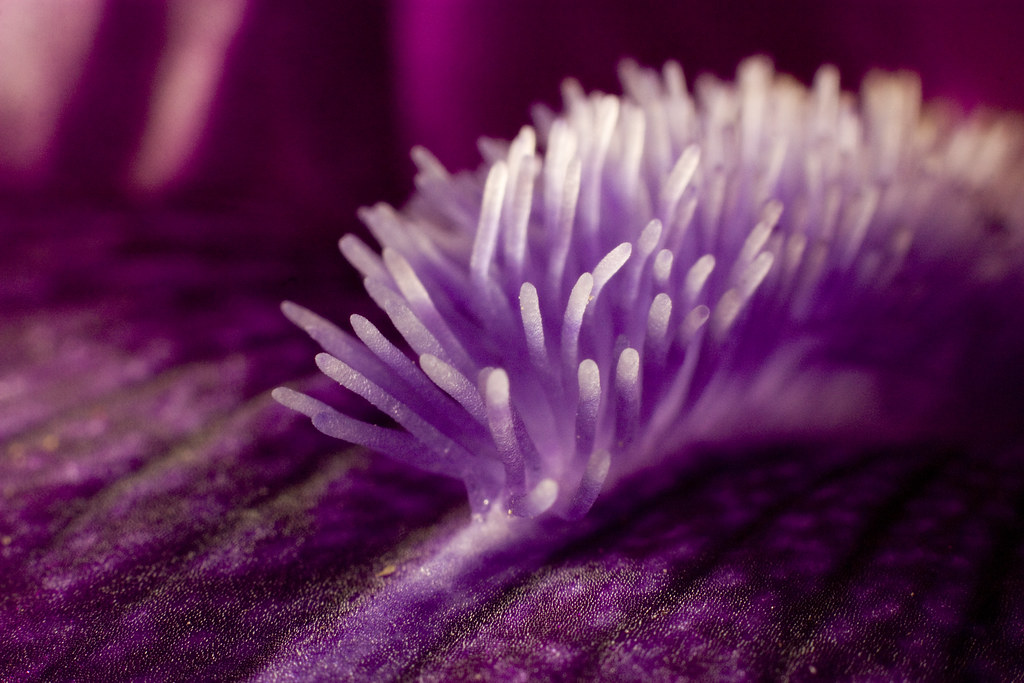
This detail of an Iris almost makes it appear to be a sea creature…Thanks, extension tubes!
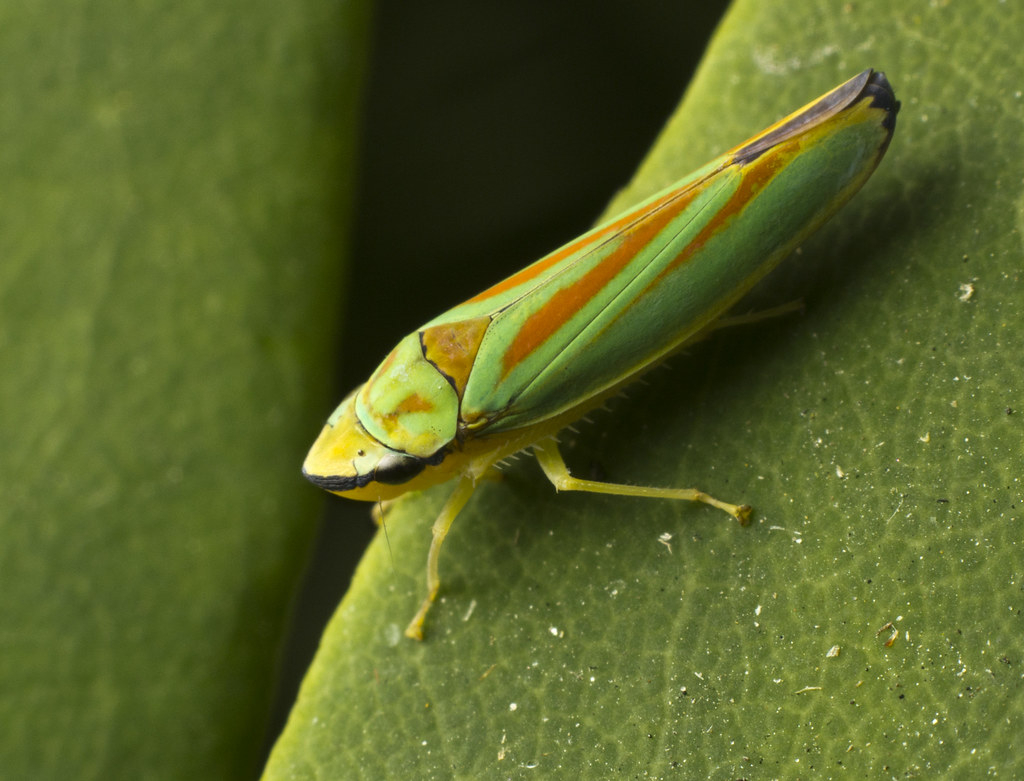
To get this Rhododendron Leafhopper (Graphocephala fennahi)to fill the frame, all 66 mm of tubes were used.
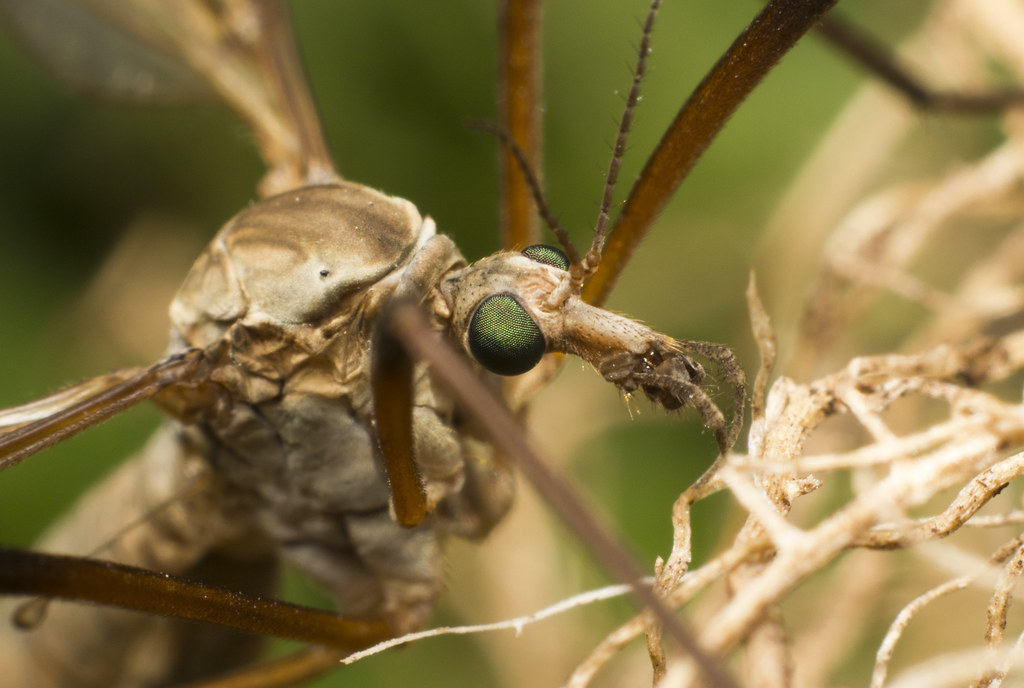
Provided your subject is still, getting in close is not a problem.

The modest 21 mm of extension brought this life and death drama of the crab spider and the Apple Clearwing into focus.
Extension tubes can also be used with shorter lenses, but get much past 35 mm and the working distance is going to be very tight and possibly unworkable. With longer lenses, the magnification gains are more modest, but sometimes the shortened working distance can be useful. I also get nice results with the 300 mm f4 and tubes, but I will wait til spring has sprung and I shoot some more material before I post about that.
Anyway, I hope that I have been a good advocate for the use of tubes and cheap 50s to get in close. If you cannot afford a macro lens, but would like to make some nice closeups, this will get you started and keep you happy for a good long while.


