Tag Archive | insects

Weekend Expedition 7: Burnaby Lake Park

IMG_5596

This male Wood Duck seemed agitated, I presume because I was between him and several females.

This week’s Weekend Expedition was a bit of a hurried affair: I wanted to get done and get on the road to return my malfunctioning Canon 60D. This camera was working Saturday night, but when I got up Sunday morning to prepare my gear discovered that my generally reliable camera body would not start. I suspected all manner of grievous harm to the motherboard, and grumpily decided that I would return it for a refund or exchange at the store where I bought it (I had bought the extended warranty).

Because such misfortune can strike at any time, I have a backup body, the Canon 450D (Rebel XSi), which I took on the trip to Burnaby Lake.
While out in the glorious sunshine, seeing the spring springing and the birds and insects becoming active, my mind was still cloudy thinking about my traitorous camera back home. Instead of fully immersing myself in the sight of testosterone-fueled combat between Canada Geese, or sunbathing fireflies, my thoughts were elsewhere, and after a couple of hours I packed up and headed home.
IMG_5643

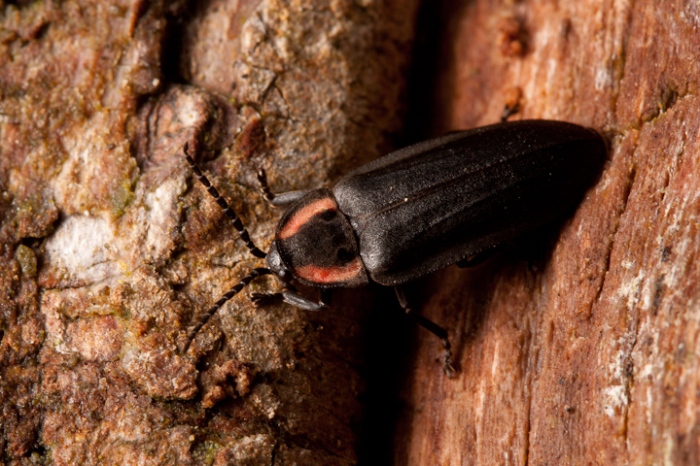
Several Ellychnia hatchi , large, diurnal fireflies. were sunbathing on exposed bark.
IMG_5730

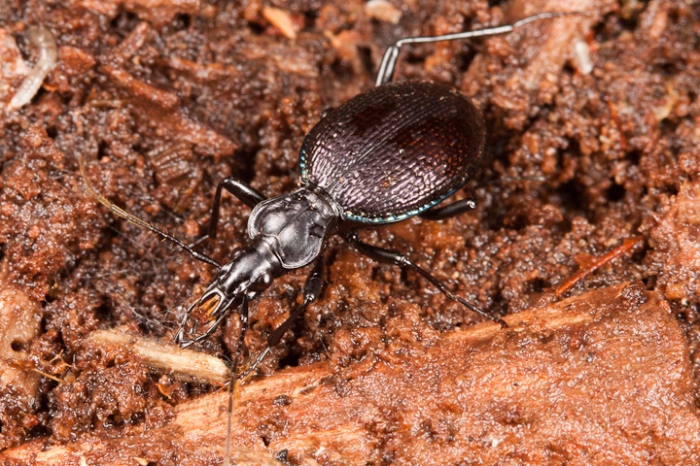
This Scaphinotus marginatus  (ID courtesy Todd Lawton) was a  new one for me. Generally, the most common Scaphinotus here are the larger Scaphinotus angusticollis. These odd Carabids  are specialist predators of snails, and their elongate rostrums are thought to be an adaptation for extracting them from their shells.

IMG_5577

I did not get a great shot of the behaviour, but the Canada geese are getting their spring on with some feisty combat.

When I arrived back home, I called the store asking about the procedure for returning the camera. While I was waiting on hold, I started idly wiping the battery terminals with some cloth, thinking it might just be a connection problem in the battery compartment. Sure enough, it ended up  being the case that the sole cause of the camera’s mysterious reluctance to boot was dirty contacts on the battery terminals.

Although this Weekend Expedition produced some okay shots, I find that I was dissatisfied with the day. Whereas I had planned a leisurely 4-5 hours ambling around the lake shooting birds and bugs, I ended up truncating the outing, and not really being fully present to make the most of the time I did take.

So there is a lesson in this, I think. While it is important to have a decent lenses and a working body for your expedition, it might be more important to bring a clear mind.
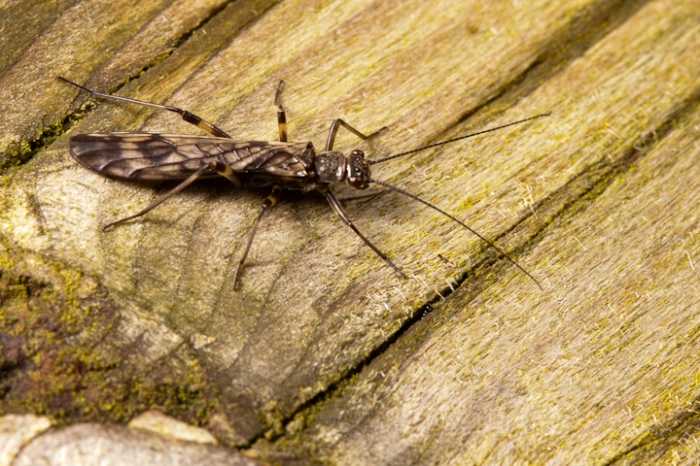
IMG_5620

This Stonefly (ID anyone?) was sunbathing on a railing, and fled from my approach. After a time, it resumed sunbathing, so I could take this shot.

IMG_5724

Even the Chrysomelids were out to soak up the rare Vancouver sunshine .

IMG_5584

Playa.
Cheapskate Tuesday 5: Extension Tubes

Rebel with extension tubes

One of the cheapest and highest-quality ways of getting into closeup and macro photography with a DSLR is to use your nifty fifty on extension tubes. Extension tubes are a time-honoured way of decreasing the minimum focusing distance of any lens by moving it further from the image plane. The magnification you can achieve depends on the focal length of the lens and the amount of extension.

Perhaps the best illustration is to show a familiar object at three different focal distances with different combinations of tubes.

Here is what the 50 mm can do at its closest focusing distance on a cropped-frame camera:

IMG_4874

with just 12 mm of extension, here is the same subject:

IMG_4875

And with all 65 mm of extension tubes added, we can get really close:

50 mm with 65 mm extension tubes

Clearly, there is a great difference in close focusing ability with the tubes mounted. Also, I used an American penny as we just got rid of ours.

When you buy extension tubes, they often come in a set of three. mine had 13, 21, and 31 mm tubes, for a combined total of 65 mm.

IMG_4860

As you can see in the photo above, the tubes have contacts to command the lens’ focus and aperture from the camera. While these that I bought some years ago are often the cheapest of the products available (about 50 bucks a set), I recommend buying the more expensive Kenko branded ones (maybe 170 if you shop around?). My old tubes are mostly plastic, and the mount pieces are starting to wear and break. Kenko tubes have metal mounts and thus should last much longer. Sometimes being a cheapskate doesn’t pay off! That being said, if all you will mount will be the 50, the plastic tubes should last a good long time. With heavier lenses, there is bound to be more strain on the mounts.
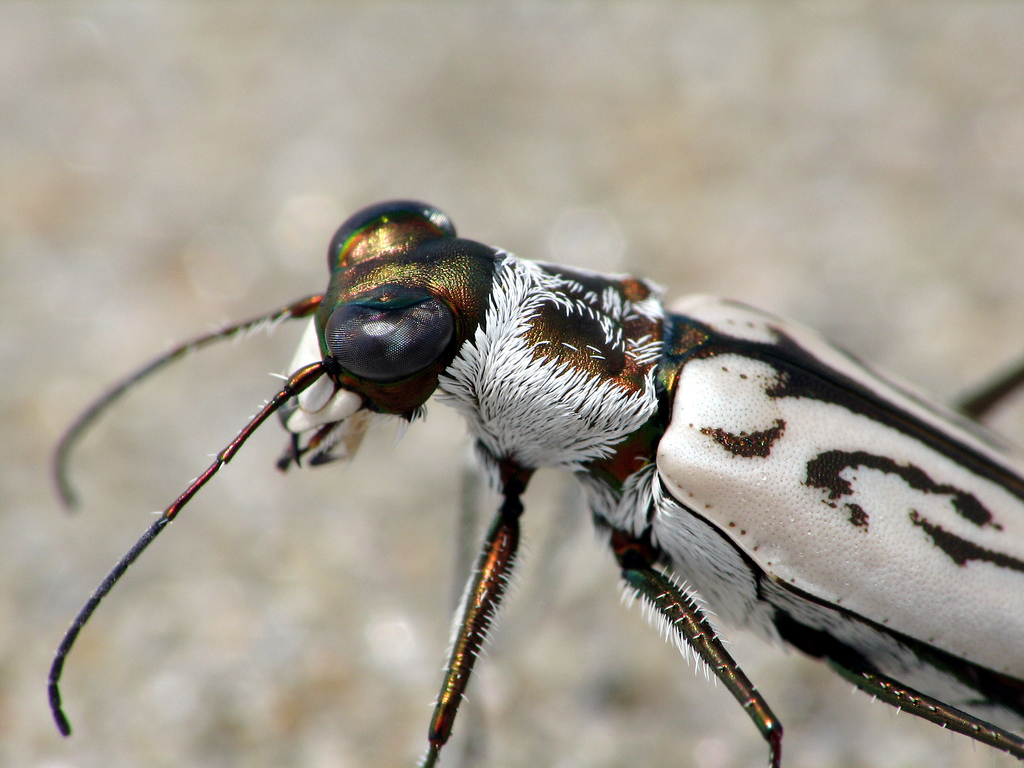
With 65 mm of extension on a 50 mm lens, we can achieve slightly better than 1:1 magnification. This means that we can fill the frame left to right with a subject measuring 22 mm on a crop frame camera. This is pretty darn good for most insect work.

Where extension tubes get difficult is that to achieve different magnifications, one has to keep swapping them out and re-combining them. While all this fiddling is going on, your subject may be some distance away! Also, while the tubes are mounted, you have only a narrow Goldilocks zone of focus, and you cannot focus to infinity. If you were crouched down shooting a butterfly and Bigfoot walked by, you might miss the shot, while your buddy with the compact camera and the quick-dismounting Raynox DCR 250 would nail it!

Nonetheless, this is a great method for getting into macro and closeup photography.

So what kind of real-world results can be achieved?

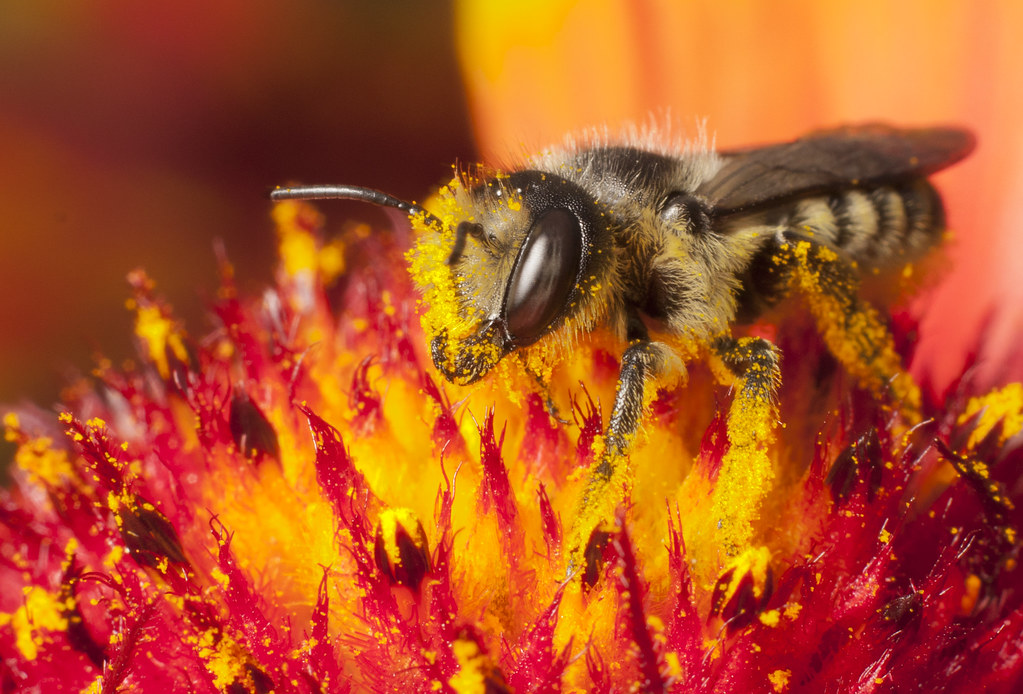
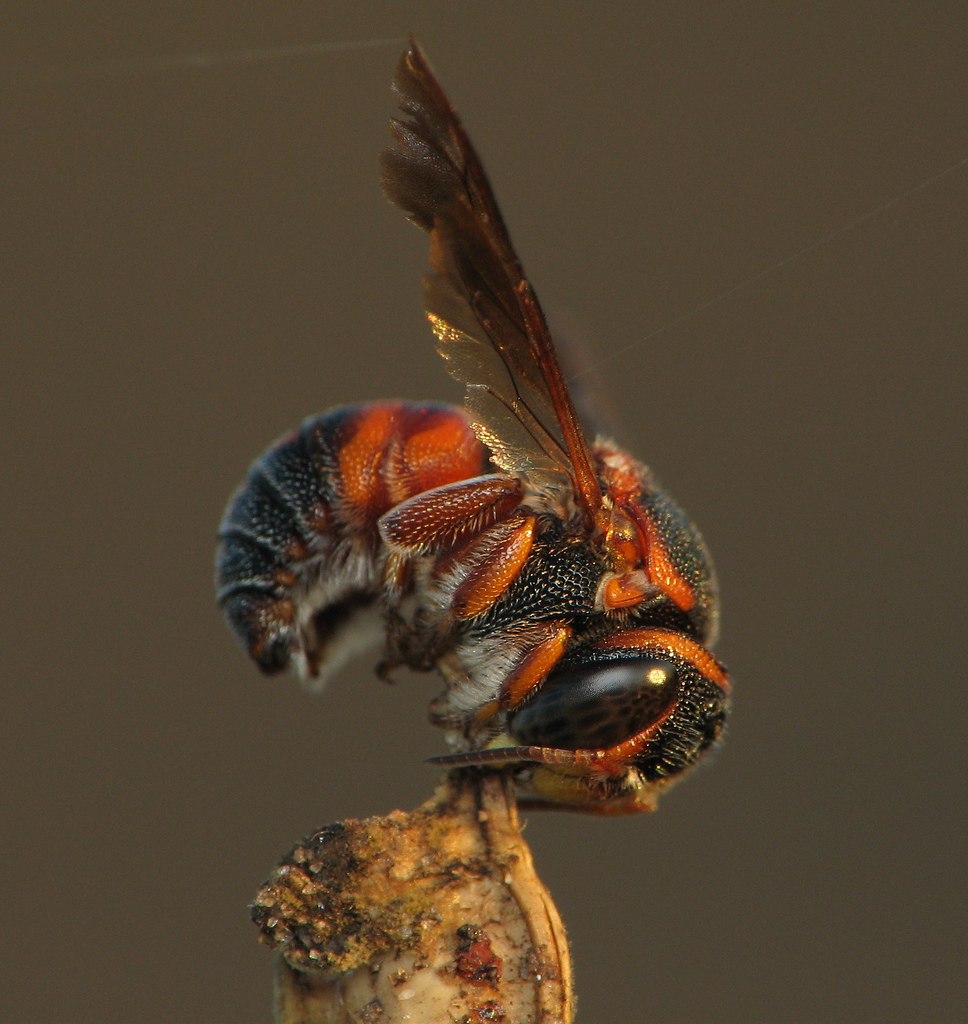
This megachilid bee, photographed at Iona Beach, is brought in very close with the 50 mm on 34 mm of extension tubes.

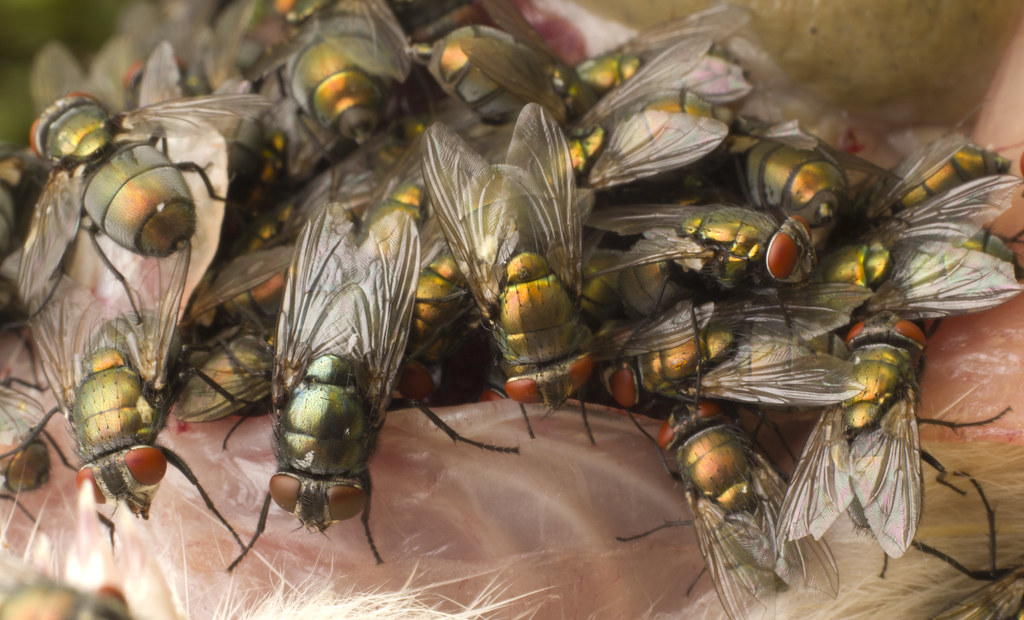
A group of Lucilia sericata and a lone Phormia regina feed on the abdominal cavity of a dead rat. This shot used the 50 mm on just 13 mm of extension.

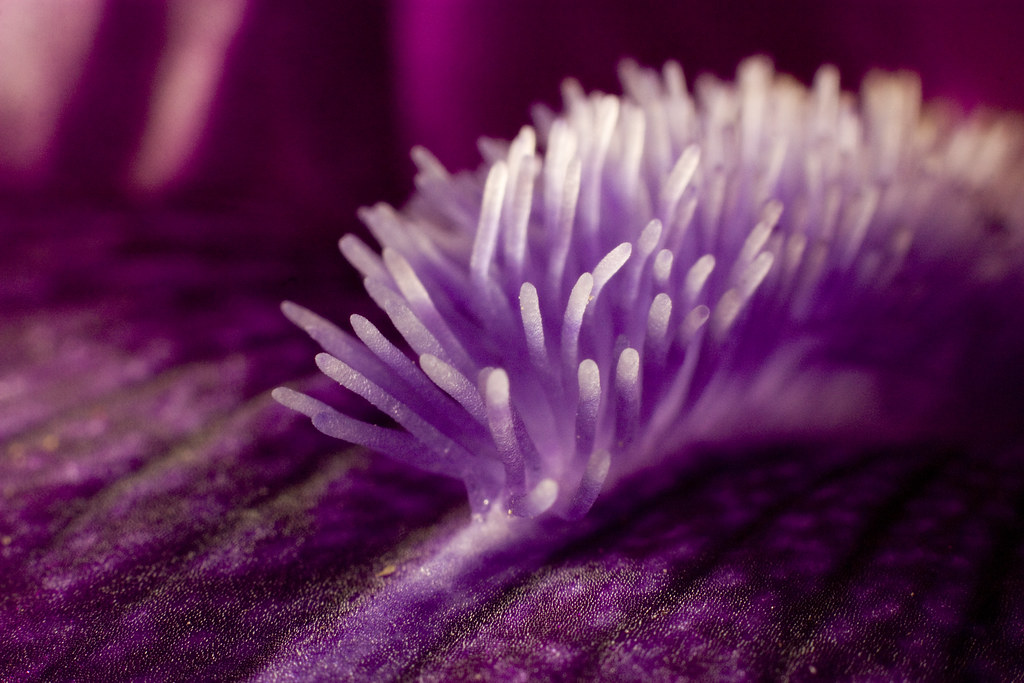
This detail of an Iris almost makes it appear to be a sea creature…Thanks, extension tubes!

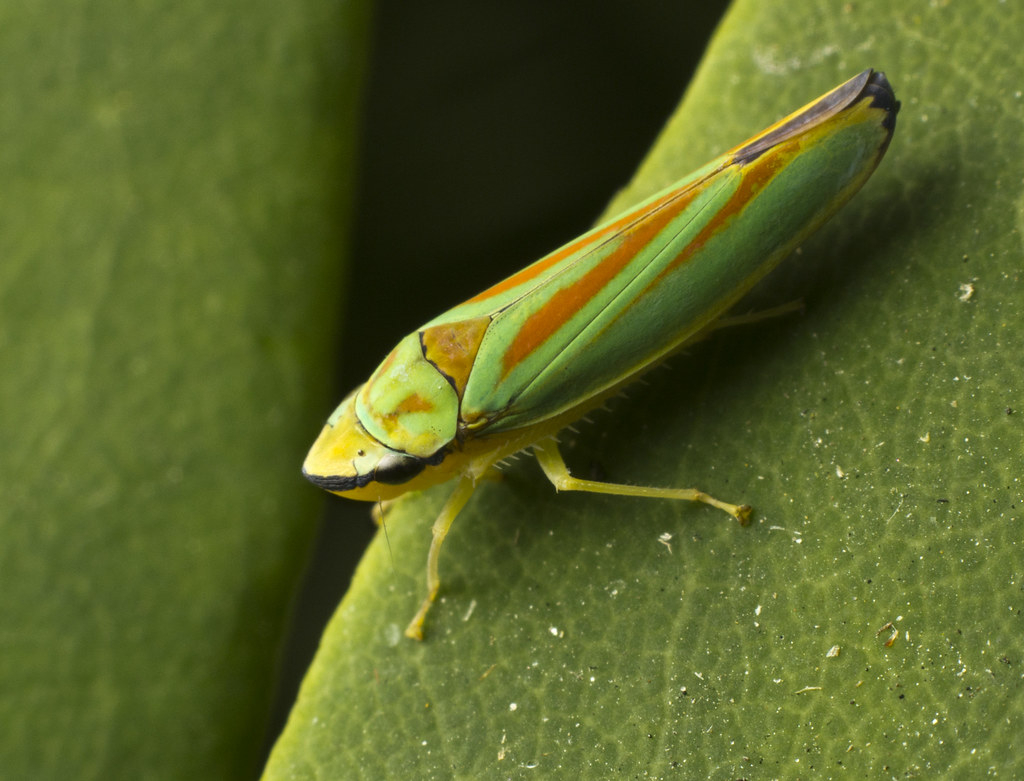
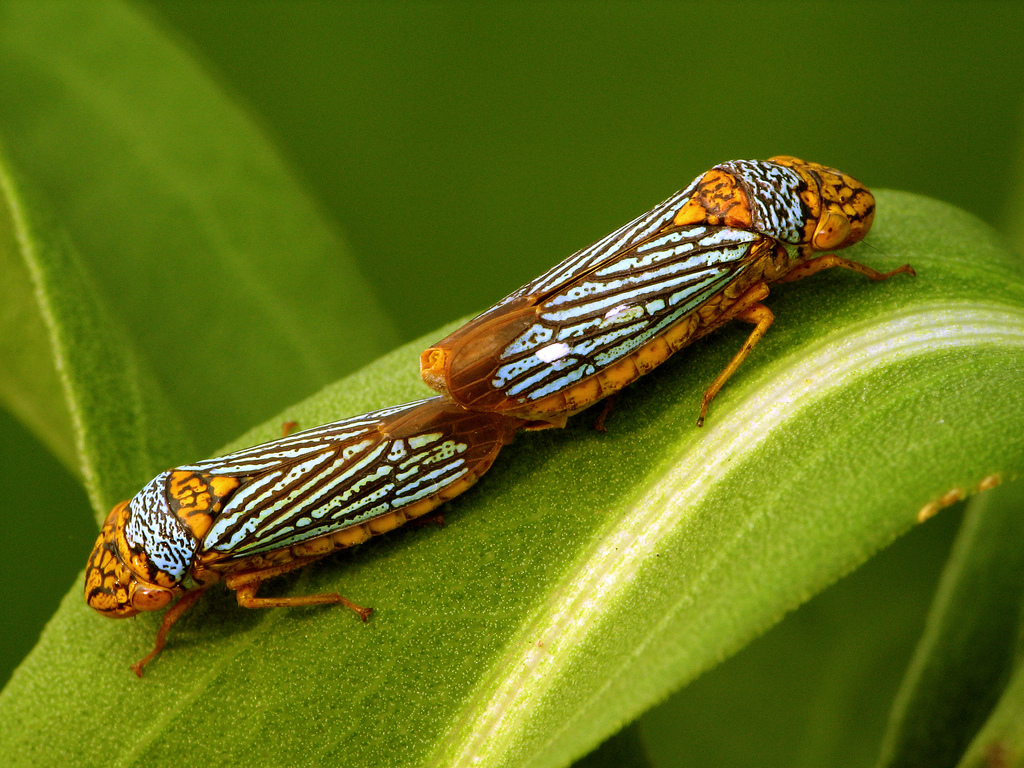
To get this Rhododendron Leafhopper (Graphocephala fennahi)to fill the frame, all 66 mm of tubes were used.

Provided your subject is still, getting in close is not a problem.

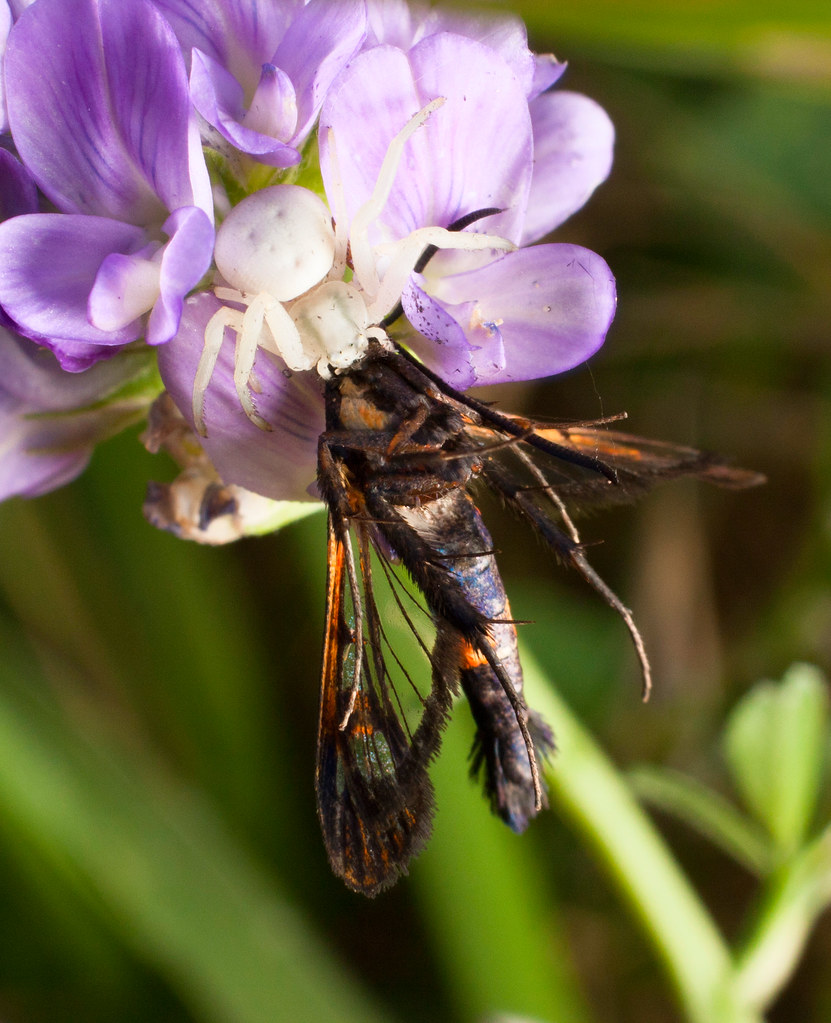
The modest 21 mm of extension brought this life and death drama of the crab spider and the Apple Clearwing into focus.

Extension tubes can also be used with shorter lenses, but get much past 35 mm and the working distance is going to be very tight and possibly unworkable. With longer lenses, the magnification gains are more modest, but sometimes the shortened working distance can be useful. I also get nice results with the 300 mm f4 and tubes, but I will wait til spring has sprung and I shoot some more material before I post about that.

Anyway, I hope that I have been a good advocate for the use of tubes and cheap 50s to get in close. If you cannot afford a macro lens, but would like to make some nice closeups, this will get you started and keep you happy for a good long while.

Cheapskate Tuesday 2: The Raynox DCR 250

This shot of a sharpshooter, Oncometopia nigricans, was taken with a compact superzoom and a Raynox DCR 250 lit with the onboard flash and some styrofoam bowls (see below).

Much of the reason I got into photography is the desire to document the wonderful world of insects. This is the realm of macrophotography and is a great one for beginners to get into, because stellar results can come from even modest equipment (provided you are willing to work to achieve them).

One of the best pieces of equipment to get going in macro is the Raynox DCR 250. This marvelous piece of glass fits on the front of a lens and allows you to snap some great high magnification shots. If you are hesitating about getting a macro lens, but still want to get some nice closeups, this is your tool. It costs about 70-90 bucks.

These types of attachments are often called “diopters” or “close-up filters”, but the difference between these and most others on the market is that these ones don’t suck . They are a 3 element design, and are multi-coated for good contrast and flare control. When using this lens adapter, you use your zoom to set your magnification, and then the focus for the close work. Using my DSLR with it attached to the front of my 18-55 IS (kit zoom), I can fill the frame with something 35 mm across. This is not quite 1: 1, but getting there.

If you do not have an SLR, fear not! It also makes a wonderful attachment for compacts, especially the so called “superzooms”. You may need a special adapter to fit it to, but once it is on, the strong telephoto character of the superzoom allows some pretty good closeup ability.

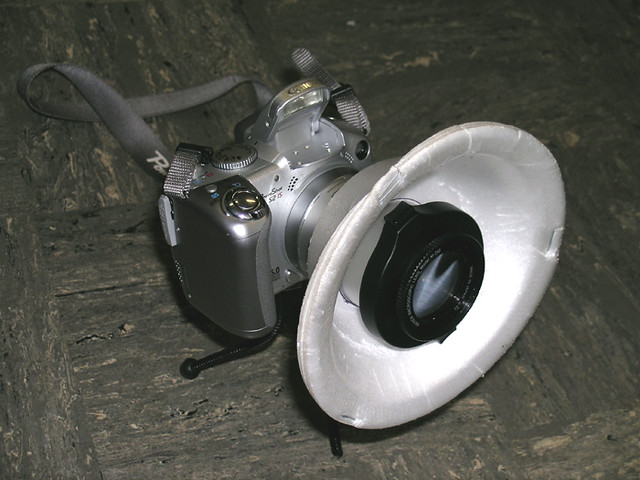
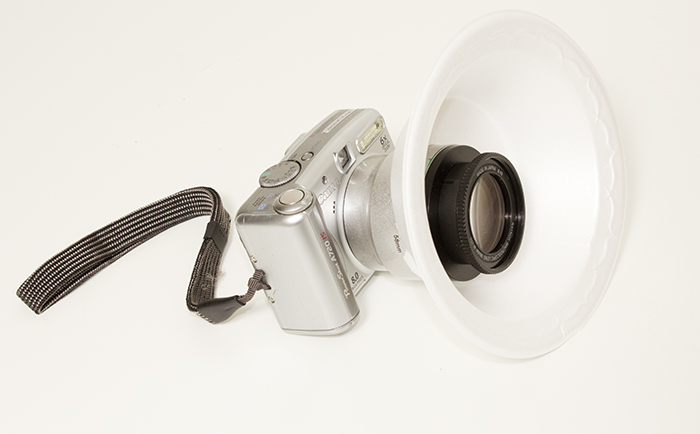
My early days shooting macro I used the combination of the Raynox and a Canon S2IS extensively. I loved the versatility of this combination, and I sometimes still miss it! Below is a monstrously ugly photo I once took of that setup. Here you can see the styrofoam bowl which acts as a flash diffuser for the onboard flash fitted around the bayonet adapter,.  The Oncometopia nigricans photo at the top was taken with this setup, as were many of my favorite macro shots.

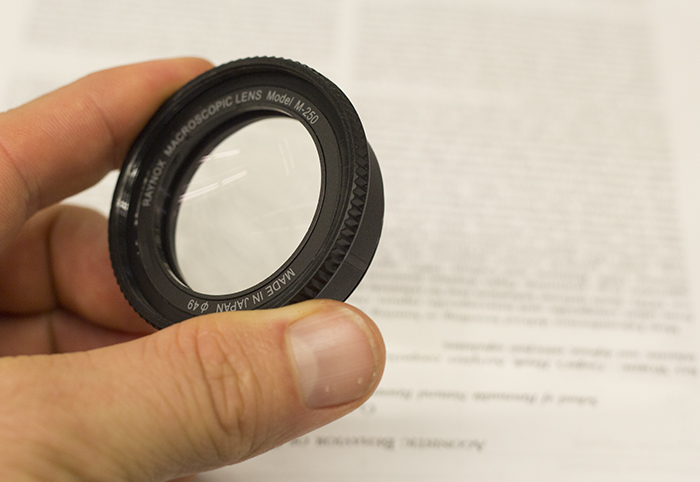
Below you can see the Raynox itself. It comes shipped with a clip on adapter (visible in the shot above) to mount it to various sized filter threads, but this is somewhat flimsy and will break at some point. The interior portion is threaded, so you can just get a step-up ring from 43 mm to whatever size filter thread you want to attach it to.

IMG_3310

IMG_1102

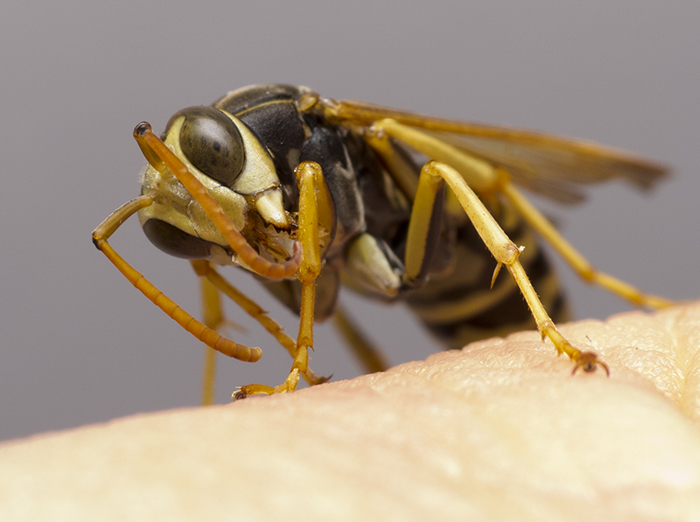
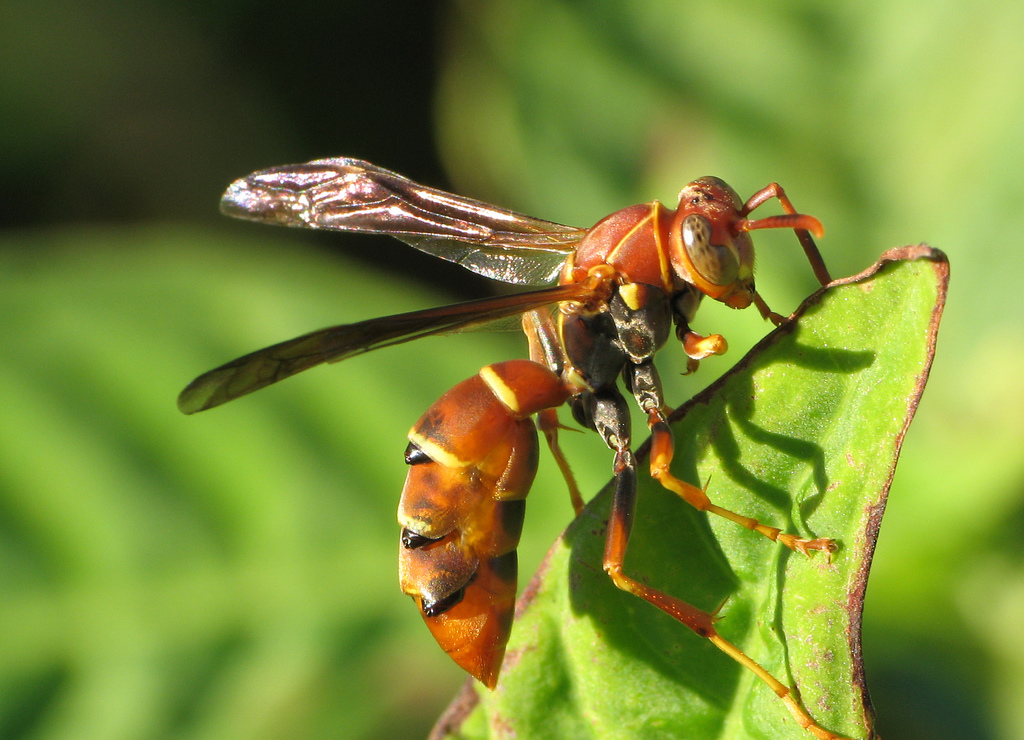
Here is a shot I took yesterday of a Polistes aurifer (from the lab!) using a borrowed (thanks Mike!) Canon G12 and Raynox DCR250. The light is the YN460 with the Cheapskate diffuser featured in last week’s Cheapskate Tuesday.

IMG_0134

This is a subject that is close to home for many of you, the Cellar Spider, Pholcus phalangiodes shot last night with a Canon A720, the styrofoam bowl diffuser, and onboard flash.

IMG_3359

The equipment used to capture the Cellar Spider. The camera was 50 bucks at a pawn shop.

IMG_3339

The same Polistes aurifer male from the lab, this time shot with my DSLR and the inexpensive EFS18-55 IS with Raynox DCR 250, also lit with the Cheapskate Diffuser. This same  lens combo is often used to stunning effect by Techuser, a.k.a. Brazilian nature photography guru  João P. Burini of Primal Shutter.

IMG_1107

The combo in question. EFS 18-55 IS II, a lens you can probably buy for 100 bucks, and the DCR 250.

To sum up, the Raynox is an adaptable piece of equipment, and unlike many macro adapters, this one is actually good.  I no longer have one of these, having given mine away a couple years back to an aspiring macro shooter from French Guiana, but picking it up again to write this up makes me nostalgic. I think I will have to end with a gallery of some of my favorite shots with this awesome little lens.